
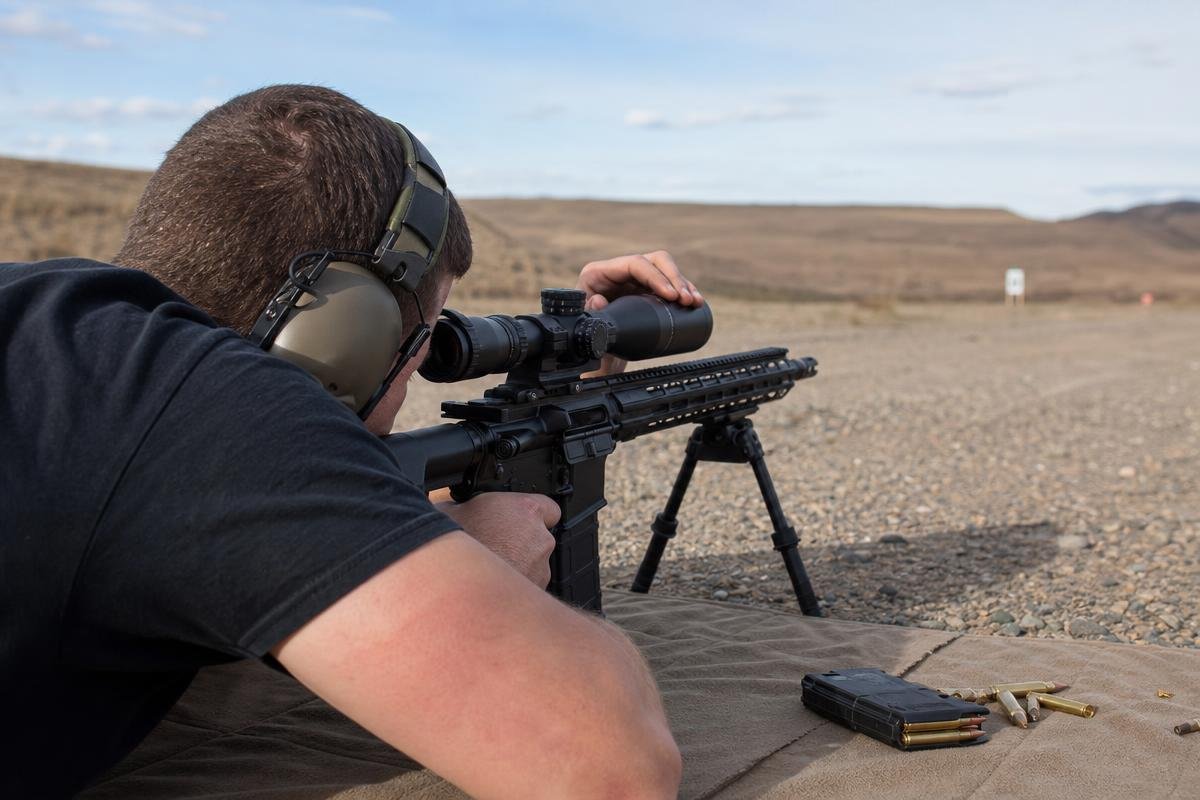
Knowing how to zero an AR-15 is one of the most practical skills a rifle owner can have, and it makes every round you fire more useful. A rifle that isn't zeroed is just guesswork downrange. We assemble complete uppers in-house and ship them from our Denison, TX facility. Below, we cover the process at 25, 50, and 100 yards so you can zero with confidence using your range setup and optic type.
Building a new upper or optic-ready rifle before you zero? Shop our complete uppers, assembled and function-checked in Denison.
Key Takeaways
- A 50-yard zero on a 5.56 AR-15 produces a near-identical point of impact at 200 yards, making it a practical field zero.
- Starting at 25 yards lets you confirm bore alignment and save ammunition before moving to longer distances.
- Learning how to zero an AR-15 correctly requires consistent shooting position, not just turret adjustments.
- Heat mirage at 100 yards on open Texas ranges can blur your group; shoot early in the morning when possible.
- A bore sight gets you on paper fast, but live-fire confirmation at distance is the only true zero.
What Does It Mean to Zero an AR-15?
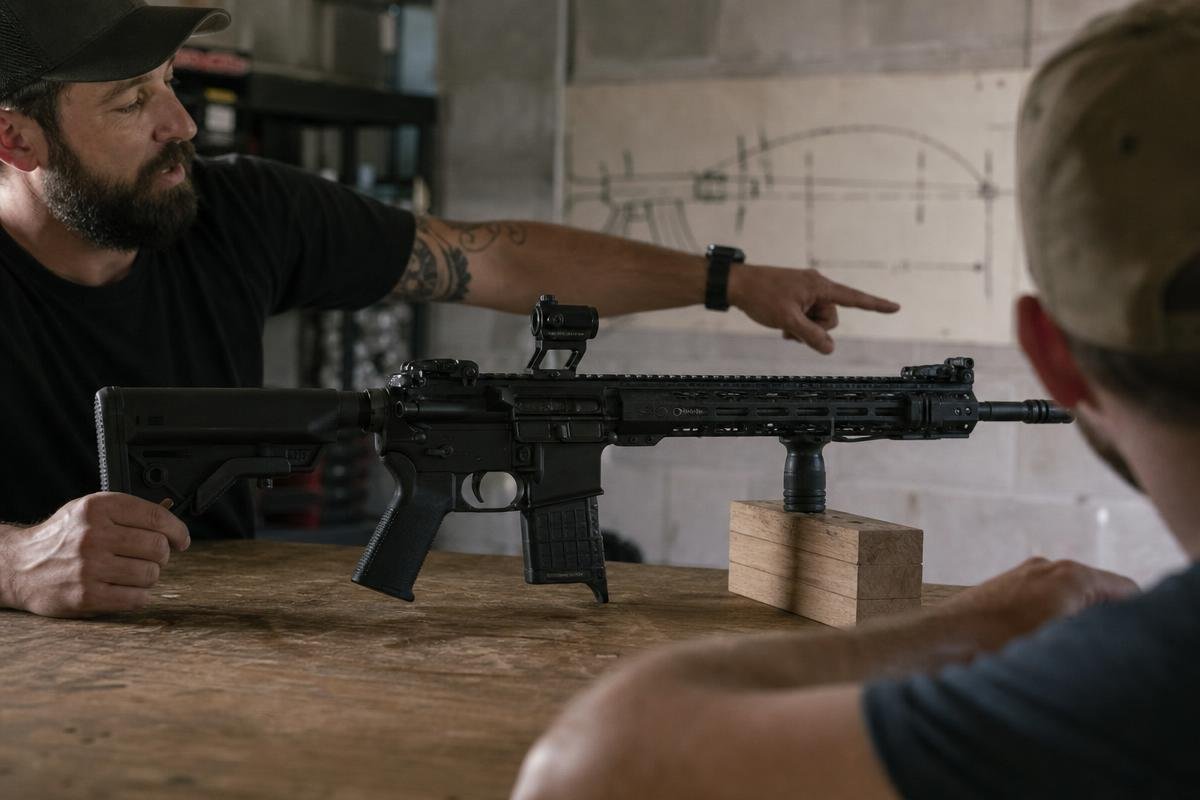
Zeroing aligns your point of aim with your point of impact at a specific distance. When those two points match, your shots land where your reticle or iron sights are pointing. That is the entire goal of how to zero an AR-15, and the rest of the zeroing process builds on that definition.
Point of Aim vs. Point of Impact
Your sights sit above the bore. On a standard AR-15, that offset is roughly 2.5 to 3 inches. Because of that gap, the bore axis and the sight axis are never parallel. The bullet leaves the muzzle on a slightly upward angle relative to your line of sight, arcs through it at your chosen AR-15 zero distance, then drops below it as distance increases.
Think of it this way: at 10 yards, your bullet is still rising through the line of sight. At 50 yards, it may cross that line. At 200 yards, it is falling below it. Where exactly those lines intersect depends on your zero distance, your optic height, and your barrel length.
Why Your Sights Are Never Pre-Zeroed from the Factory
No AR-15 ships zeroed. Sights and optics are mounted by you, not the manufacturer. A 16-inch carbine with a 1-inch scope mount needs a completely different zero than the same rifle running a lower one-third co-witness red dot. The mount height changes everything.
The same applies to our complete uppers assembled and headspaced in-house. Each one is put together, headspaced, and function-checked by our team in Denison, then it ships ready to drop onto your lower. But zeroing is always your first task at the range. No one can do that step for you before the rifle is in your hands.
Choosing Your Zero Distance: 25, 50, or 100 Yards?
The zero distance you pick determines where your bullet crosses your line of sight, and every other distance flows from that decision. There is no universal right answer, but there is a right answer for your caliber, your intended use, and your range conditions. Here is how to think through it.
25-Yard Zero
A 25-yard zero is a starting point, not a finished zero for most shooters. It gets your rounds on paper quickly and lets you make coarse adjustments before moving to your true zero distance. The military uses a 25-meter initial zero that corresponds to a 300-meter battle zero, because the bullet's arc crosses the line of sight twice. That same principle applies to civilian AR-15 zeroing, but most civilian shooters are not engaging targets at 300 meters, so the 25-yard zero alone is incomplete without follow-up confirmation at distance.
If you zero at 25 yards with 5.56, expect your point of impact to run roughly 1.5 to 2.5 inches high at 50 yards before the bullet settles back to zero somewhere between 225 and 250 yards. Know that before you walk off the range thinking you are done.
50-Yard Zero
For most AR-15 owners, the 50-yard zero is the most practical AR-15 zero distance available. With 5.56 NATO or a .223 Wylde complete upper, a 50-yard zero keeps your bullet within 2 to 3 inches of point of aim from the muzzle out to roughly 225 yards. That is a flat enough trajectory for defensive use, hunting, and general range work without requiring holdover corrections at typical engagement distances.
Outdoor ranges near Lake Texoma deal with variable crosswind across open terrain with few natural windbreaks. At 50 yards, wind has less time to push your group, making it easier to confirm a clean zero on a breezy Grayson County afternoon.
Building a new upper for a specific zero distance? Browse our caliber-specific uppers and match the barrel to the job.
100-Yard Zero
A 100-yard zero is the standard for precision work and for calibers with steeper trajectory curves. If you are running 300 Blackout complete uppers with subsonic loads, those rounds drop sharply past 150 yards. A 50-yard zero serves subsonic 300 Blackout better than 100 yards. Supersonic 300 Blackout, 6.5 Grendel, and similar longer-range calibers benefit from a 100-yard zero because you are dialing for distance anyway and need a precise baseline.
Heat mirage at 100 yards is a real factor during North Texas summers when temperatures push past 95 degrees. Zero early in the morning when the air is stable.
Equipment You Need Before You Go to the Range
Showing up unprepared wastes ammo and range time. In the summer heat around Denison, a missing tool means a walk back to a hot truck. Get everything staged before you leave.
Targets and a Stable Shooting Rest
Your target needs a clearly defined aiming point. A 1-inch or smaller bullseye gives you the precision reference you need to read your groups accurately. A plain cardboard box with a marker dot introduces too much guesswork.
Freehand shooting adds shooter error on top of the adjustments you are trying to measure. Use a bench rest, a front bag, and a rear bag. That combination keeps your rifle consistent from shot to shot, which is the only way to know whether your adjustments are working.
Bore Sighting Tools
A laser bore sighter chambered for your caliber gets your optic on paper before you fire a single round. The muzzle-insert type works well for 5.56 and .223. It saves ammunition and cuts down the number of cold shots you burn just finding the target.
Treat the bore sighter as a rough alignment tool. It puts you inside the paper, but it cannot account for how your specific load, barrel harmonics, and mount height actually place rounds downrange. Your first live-fire group will almost always move the correction a few inches, so budget ammunition for it.
Adjustment Tools for Your Optic or Sights
Know your optic's click value before you leave home. Most scopes and red dots move 1/4 MOA or 1/2 MOA per click. That number is in your optic manual and tells you exactly how many clicks equal one inch of correction at your zero distance. Showing up without that information means guessing.
Iron sights require a front sight tool or a flat-tip adjustment tool depending on your post design. If you run a magnified optic or a red dot alongside irons, review your backup iron sight setup and zero before heading out. Bring a small screwdriver or coin for optics that use slotted turret caps.
How to Zero Your AR-15: Step-by-Step
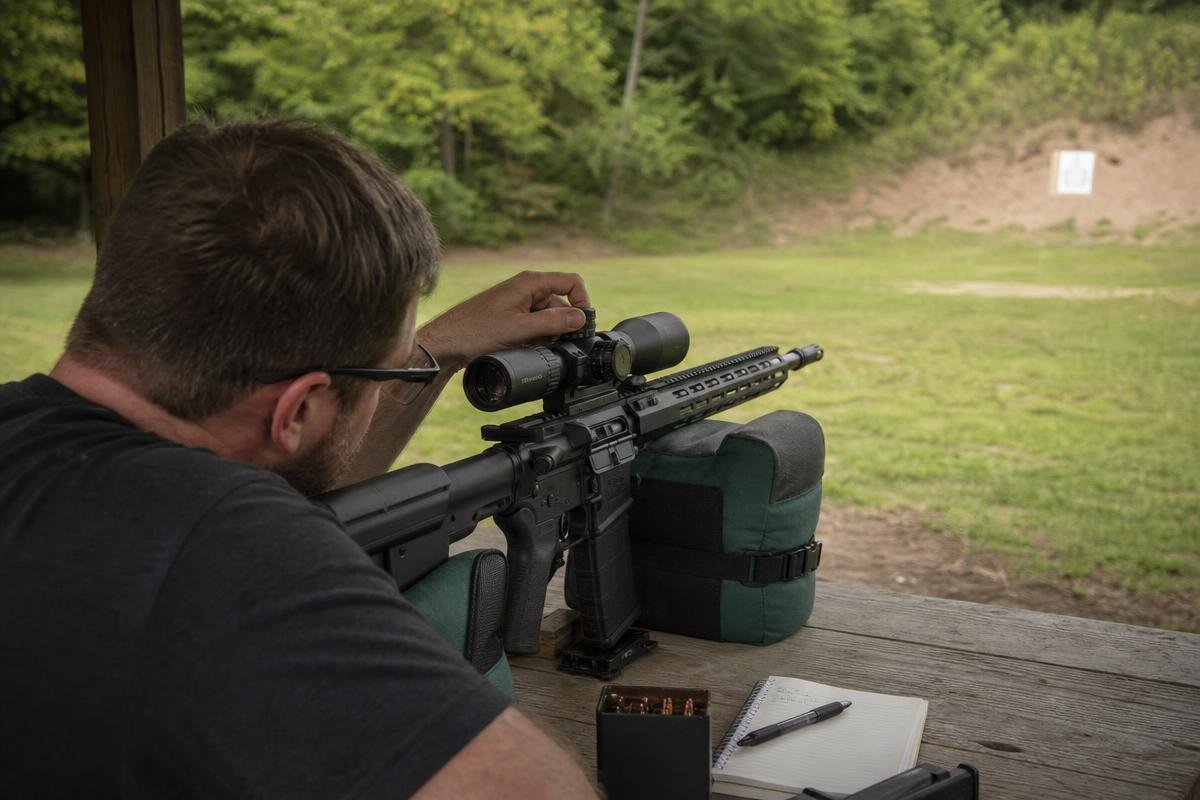
Learning how to zero an AR-15 comes down to six repeatable steps. Do them in order. Do not skip ahead. A confirmed zero means your point of aim matches your point of impact at a known distance, and every step below builds toward that result.
Step 1: Verify Your Mount Is Torqued to Spec
Check every screw on your scope rings, red dot mount, or iron sight base before you fire a single round. A loose mount shifts under recoil. If it moves, your adjustments mean nothing. Use a torque wrench and follow the manufacturer's spec, typically 15 to 25 inch-pounds for most aluminum rings.
Step 2: Bore Sight at Your Chosen Distance
With the rifle unloaded and the action open, insert a bore sighter and align your reticle to the projected dot at 25, 50, or 100 yards. This gets you on paper before you fire. Remove the bore sighter completely before loading the rifle.
Step 3: Fire a Three-Shot Group
Shoot three rounds from a stable rest. Use a consistent cheek weld, a clean trigger press, and follow through on each shot. Three rounds is enough to identify your group center without burning through ammunition. Call your shots. If you flinched, note it before measuring.
Step 4: Measure Your Offset
Measure both the vertical and horizontal distance in inches from your group center to your aiming point. Write both numbers down before you touch a turret. Guessing costs you rounds and time.
Step 5: Calculate Your Clicks and Adjust
Here is a worked example. On a 1/4 MOA optic, 4 clicks equal 1 MOA, which is roughly 1 inch of correction at 100 yards. So if your group lands 2 inches low and 1 inch right at 100 yards, dial 8 clicks up and 4 clicks left. At 50 yards the math halves: each click moves impact 0.125 inches, so 1 MOA (4 clicks) moves the group about 0.5 inches. To move your group 3 inches at 50 yards, divide 3 by 0.5 to get 6 MOA, then multiply by 4 clicks per MOA for a total of 24 clicks. Always adjust in the direction you want the bullet to move. Elevation up means turn the turret marked "U" or "UP." Windage left means turn toward "L."
Note: barrel length and gas system length affect recoil consistency, which directly affects group size during zeroing. Pistol-length and mid-length gas systems produce different recoil impulses. See our guide on choosing the right gas system length for your AR-15 if your groups are inconsistent between strings.
Step 6: Fire a Confirmation Group and Verify
Fire another three-shot group. If the group center lands within 1 inch of your aiming point, your zero is confirmed. One lucky hit is not a confirmed zero. Three rounds in the same place tells you the rifle is dialed in. If you are still off, repeat steps 4 and 5 with the new measurement.
Whether you are working toward a 25 yard zero AR-15 setup for a home defense build or debating a 50 yard zero vs 100 yard zero for a general-purpose rifle, the process above is the same. The math just changes with distance. Browse our complete AR-15 uppers assembled and headspaced in-house if you are starting a new build and want a verified foundation before you head to the range.
Have questions about your build before you zero it? Call us at (888) 706-0633 or reach out directly. We are here to help you get it right the first time.
Common Zeroing Mistakes and How to Avoid Them
Most zeroing problems trace back to a handful of repeatable errors. Fix these and your data from the range becomes reliable. Ignore them and you will chase your zero indefinitely.
Shooting Freehand
Freehand shooting introduces more human movement than the corrections you are trying to measure. A 3-inch group at 50 yards shot freehand tells you nothing useful about your zero. It tells you about your wobble. Use a bench rest, bipod, or rear bag. Every shot needs a stable, repeatable platform.
On the open ranges around Grayson County, add wind to that equation. Even a light 5 mph crosswind combined with shooter movement creates compound error that makes group data meaningless. Grip angle and shooting position are related factors worth checking before you head to the range.
Adjusting After Every Shot
One shot is not a group. A single round can be a flier from trigger jerk, wind, or ammunition variance. Fire a three-shot group, find the center of that group, then adjust. Chasing individual shots wastes ammunition and produces a zero based on noise instead of signal.
Ignoring Parallax and Eye Relief
On magnified optics, parallax error causes the reticle to shift relative to the target when your eye moves off-center. Set parallax to your zero distance before firing. Inconsistent eye relief causes vertical stringing in groups. This is one of the most overlooked problems in any AR-15 zeroing guide.
Zeroing with the Wrong Ammunition
Your zero is calibrated to a specific bullet weight and velocity. A 55-grain M193 load and a 77-grain OTM will not share the same zero at 100 yards. Zero with the ammunition you intend to carry or use in the field. Switching loads after zeroing requires re-zeroing.
Zeroing Considerations for Different AR-15 Calibers
Not every AR-15 caliber zeros the same way. The zero distance that works for a standard 5.56 build can put you several inches off target with a 300 Blackout or a 6.5 Grendel. Know your caliber before you head to the range.
5.56 NATO and .223 Wylde
A 50-yard zero is the standard starting point for 5.56 NATO. A 55-grain 5.56 load zeroed at 50 yards runs approximately 1.5 inches high at 100 yards and returns to zero near 200 yards. That trajectory works well for most defensive and general-purpose use.
If you are running a .223 Wylde complete upper, you can safely fire both .223 Rem and 5.56 NATO through the same chamber. You do not need two separate zeros. The chamber geometry handles both cartridges, but verify your zero with whichever load you plan to shoot most.
300 Blackout
300 Blackout requires two separate zeros. Supersonic loads in the 110 to 125-grain range zero well at 100 yards. Subsonic 220-grain loads drop fast after 100 yards and are best zeroed at 50 yards. Running the same zero for both will put you several inches off at practical hunting distances.
If you run a suppressor on a subsonic build, expect a point-of-impact shift of 1 to 3 inches at 100 yards. Changes in barrel harmonics and gas system back-pressure move the impact point when the suppressor goes on. Always confirm your zero with the suppressor attached. Shooters running suppressed 300 Blackout builds for hog hunting near Lake Texoma should treat a suppressor-on 50-yard zero as the only confirmed zero that matters. See our 300 Blackout complete uppers if you are building that setup.
6.5 Grendel and 6mm ARC
Both cartridges are built for extended range on the AR-15 platform. A 100-yard zero is the minimum practical starting point. The 6.5 Grendel 123-grain ELD-M can remain supersonic to approximately 800 yards from a 24-inch barrel, depending on ammunition and conditions. The 6mm ARC 108-grain ELD-M is comparable. At those distances, a match-grade barrel is not optional. Our 6.5 Grendel complete uppers are built, headspaced, and function-checked at our Denison, TX facility to support that level of precision.
Most precision shooters running these calibers zero at 100 yards, then use ballistic data to dial or hold for 300, 500, and 800 yards. Start with a solid 100-yard zero and build your dope from there.
Zeroing Your AR-15 Near Denison, TX
Local conditions matter when you're trying to confirm a zero. Grayson County's open terrain gives you limited natural windbreaks, and outdoor ranges near Lake Texoma deal with variable crosswind conditions that change throughout the day. Plan your range session accordingly.
Local Range Conditions and What to Expect
A 10 mph crosswind moves a 55-grain 5.56 bullet roughly 1 inch at 100 yards. That's enough to throw off your adjustments if you're chasing wind-drifted shots instead of a true zero. Go early. Texas summers push past 95 degrees Fahrenheit by midday, and heat mirage at 100 yards will blur your sight picture enough to cost you a clean group. Early morning or late afternoon sessions cut both problems down significantly.
If you're driving up from the Dallas area, Denison sits about 75 miles north on US-75. The drive is straightforward, and you can contact our team before or after your range session to talk through your build.
How Your Barrel and Upper Choice Affects Your Zero
A repeatable zero starts with a solid foundation. A loose barrel extension, improper headspace, or a damaged crown will produce inconsistent groups you cannot confirm, no matter how carefully you adjust your optic. The problem isn't your zero process. It's the hardware.
We build complete AR-15 uppers assembled and headspaced in-house at 4000 Texoma Parkway, Denison, TX 75020. Every upper ships with verified headspace and a function check already completed by our team. You show up to the range ready to zero, not ready to troubleshoot.
Frequently Asked Questions
What is the best zero distance for an AR-15?
For most 5.56 NATO and .223 Wylde complete uppers, a 50-yard zero is the most practical starting point. It keeps your bullet within roughly 2 inches of point of aim from muzzle to 225 yards, which covers most real-world shooting situations without constant holdover math.
How many rounds does it take to zero an AR-15?
Most shooters confirm a zero in 20 to 30 rounds when starting with a bore-sighted optic and shooting from a stable rest. Chasing individual flyers or zeroing freehand can double that round count without improving accuracy.
Can I zero my AR-15 without a bench rest?
Yes. Prone with a bipod and a rear bag gives you enough stability to identify group center reliably. Kneeling or standing introduces too much movement to know whether you are adjusting the optic or correcting your hold.
Do I need to re-zero after changing my barrel or upper?
Yes, every time. A new barrel, upper receiver, or optic mount changes the geometry of the entire system. Even swapping to a different upper on the same lower requires a fresh zero if barrel length or sight height differs.
What does 1/4 MOA per click mean, and how do I use it?
For an optic with 1/4 MOA clicks, each click moves point of impact approximately 0.25 inches at 100 yards, 0.125 inches at 50 yards, and 0.5 inches at 200 yards. To move a group 2 inches at 100 yards, dial 8 clicks in the correct direction.
Does adding a suppressor change my zero?
It can shift point of impact 1 to 3 inches at 100 yards. A suppressor changes barrel harmonics and increases gas-system back-pressure. This is especially relevant for Grayson County hog hunters running 300 Blackout complete uppers suppressed. Always confirm zero with the suppressor attached before you hunt.
A confirmed zero starts with a barrel and upper you can trust. Every complete upper we sell is assembled, headspaced, and function-checked by our team at 4000 Texoma Parkway, Denison, TX 75020 before it ships. Browse our complete AR-15 uppers, or call us at (888) 706-0633 with questions about which build fits your zero distance and use case.
Ready to Get Started with AR15Parts.com?
Call (888) 706-0633 to speak with our team directly. We're ready to answer your questions, walk you through your options, and help you find the right solution for your needs. Whether you're just starting to plan or ready to move forward, we'll make the process simple and stress-free. Reach out today and let's talk about how we can help.