


AR-15 trigger installation is one of the most impactful upgrades you can make to your rifle, and it's a job most builders can handle at home with the right parts and a clear process. Below, we cover both drop-in trigger assemblies and standard mil-spec trigger groups, step by step, so you know exactly what you're doing before you pick up a punch. We ship trigger components and complete AR-15 parts nationwide from 4000 Texoma Parkway, Denison, TX 75020, and our team can answer parts compatibility questions before you order. Need the right trigger parts before you start? We stock mil-spec and drop-in options ready to ship.
Key Takeaways
- Installing your trigger requires a punch set, hammer, and lower vise block at minimum before you start.
- Drop-in trigger assemblies install faster than mil-spec groups and require fewer individual parts to manage.
- Mil-spec trigger groups use separate hammer, trigger, disconnector, and springs that must be installed in the correct order.
- Trigger pull weight and reset distance change noticeably depending on whether you run a mil-spec or aftermarket drop-in group.
- Function-checking the trigger after installation is not optional. It confirms safe operation before you chamber a round.
What Tools and Parts Do You Need Before You Start?
Getting your tools and parts organized before you begin a trigger group install saves you from stopping mid-build to hunt down a punch or realize you ordered the wrong pin diameter. Pull everything out and lay it on your bench first.
Required Tools
You do not need a torque wrench for trigger work. Trigger and hammer pins seat with hand pressure and a rubber mallet. Here is what you actually need:
- AR-15 lower vise block (holds the lower steady without crushing the buffer tube threads)
- Roll pin punch set, specifically a 3/32-inch punch for trigger and hammer pins
- Punches or installation tools specified by the trigger and pin manufacturers
- Rubber mallet
- Bench block (supports the lower while you drive pins)
- Needle-nose pliers (for seating springs without losing them)
- Small flathead screwdriver (for spring positioning during mil-spec installs)
Skip the hammer-style punch if you do not have a bench block. Driving pins freehand damages the lower. The vise block and bench block are the two tools most first-time builders skip and then regret.
Mil-Spec Trigger Group Components
A standard mil-spec AR-15 trigger group assembly includes the following core parts. Know all of them before you order:
- Trigger
- Hammer
- Disconnector
- Disconnector spring
- Trigger spring
- Hammer spring
- Trigger pin (0.154-inch diameter)
- Hammer pin (0.154-inch diameter)
One thing to check before you order: some aftermarket lowers use 0.170-inch large-pin dimensions instead of the standard 0.154-inch. Measure your lower's pin holes or confirm with the manufacturer. Ordering the wrong pin size means the build stops. A standard AR-15 lower parts kit will include all eight components sized for mil-spec receivers.
Drop-In Trigger Cassette Components
A drop-in cassette ships as a self-contained housing. The trigger, hammer, disconnector, and springs are already assembled inside. You are not managing the individual components separately.
- Drop-in trigger cassette (fire control group pre-assembled inside)
- Two installation pins (usually included with the unit; verify before ordering)
- KNS anti-rotation pin set (optional, but worth adding to prevent pin walk)
The cassette format eliminates the disconnector and both springs as separate line items, which is the main reason builders choose it for a faster, lower-risk install. Order a cassette and pin set together and the parts are intended for compatible mil-spec-pattern receivers; verify both manufacturers’ specifications before installation. Shop drop-in trigger cassettes and complete lower parts kits shipped direct to your bench.
How Do You Install a Mil-Spec AR-15 Trigger Group?
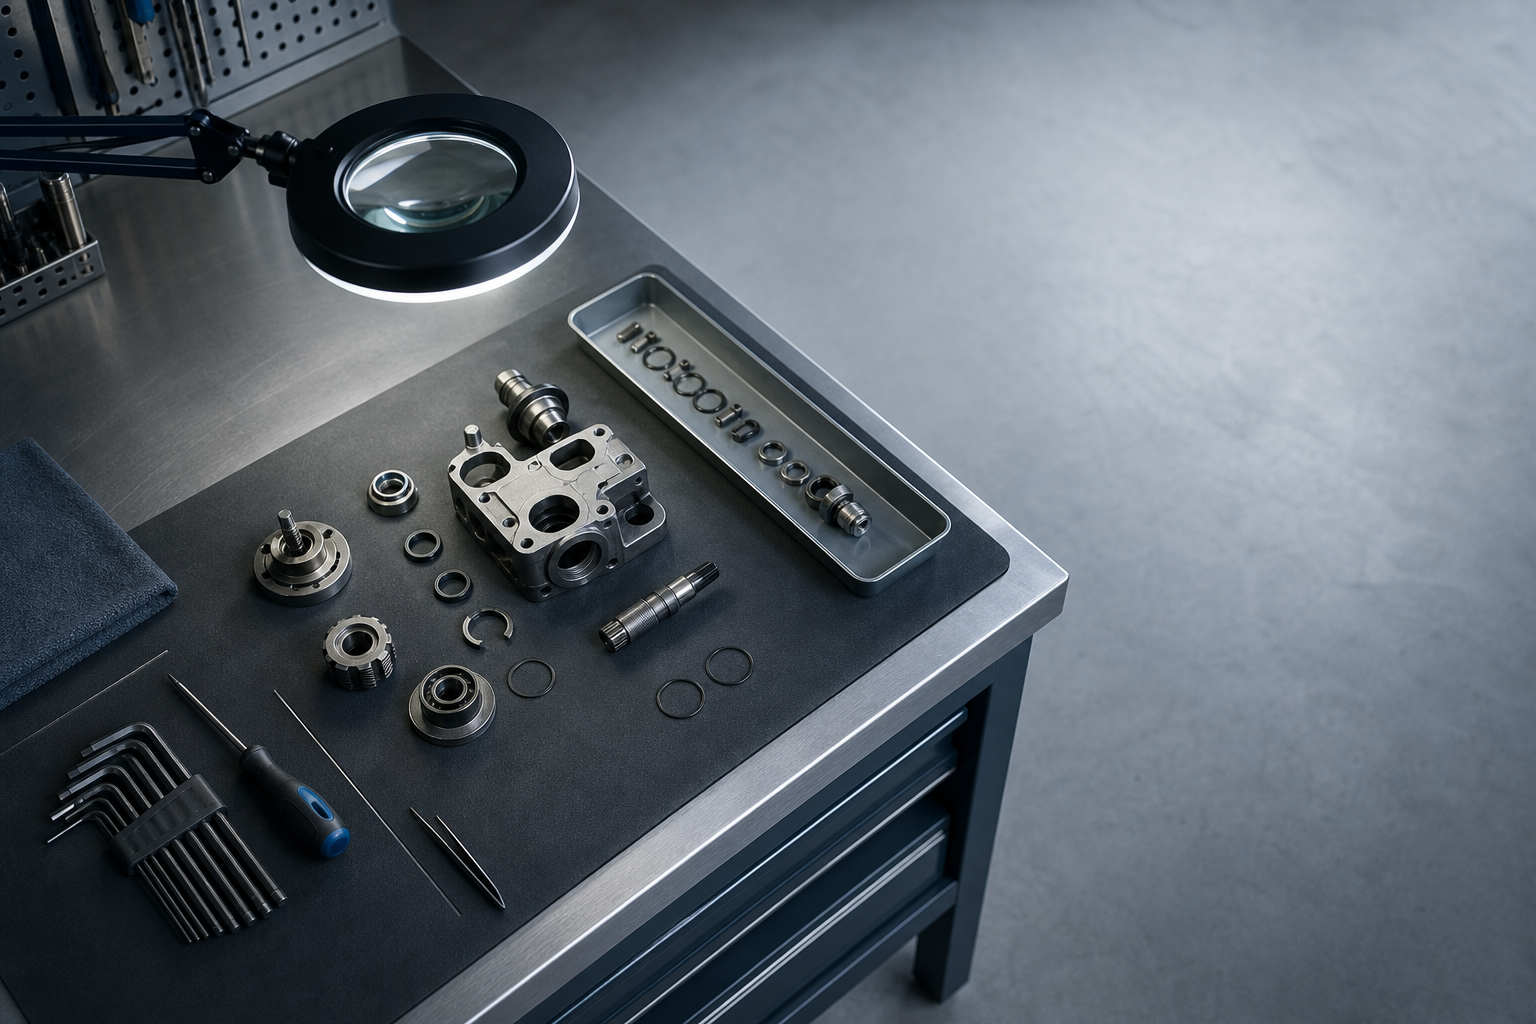
Installing a mil-spec fire control group requires exact orientation of every spring and pin. Get one detail wrong and you will get light primer strikes, failure to reset, or a trigger that falls with the safety engaged. Follow these steps in order and check your work at each stage.
Step 1: Assemble the Trigger, Disconnector, and Springs
Set the disconnector on top of the trigger body, seated in the disconnector shelf. Install the disconnector spring in the orientation specified by the parts manufacturer, then seat the disconnector on the trigger body. The disconnector should compress and spring back with light thumb pressure.
Now wrap the trigger spring around the trigger pin hole. Both legs must point forward, toward the muzzle. If the legs point rearward, the trigger will not reset after firing. This is the single most common orientation error in AR-15 trigger group assembly.
Step 2: Insert the Trigger Assembly into the Lower Receiver
Lower the pre-assembled trigger into the trigger pocket of your lower receiver. Use a slave pin or a punch to hold the assembly in alignment while you start the trigger pin. Press the trigger pin through in the direction specified by the receiver or trigger manufacturer while the lower is supported securely.
Hand pressure and a punch are all you need. If the pin does not move freely, stop. Do not strike the trigger pin with a hammer. Resistance means something is misaligned. Pull the assembly, check spring orientation, and re-seat before trying again.
Step 3: Install the Hammer and Hammer Spring
Orient the hammer with the rounded striking face toward the muzzle. Install the hammer spring so its legs bear on the trigger pin in the orientation shown by the parts manufacturer. Incorrect spring orientation can cause light primer strikes or reset problems.
Hold the hammer spring legs against the trigger pin with your thumb while you compress the hammer into the receiver. Press the hammer pin left to right, same direction as the trigger pin. Confirm both pins are fully seated and flush with the receiver walls before moving to the function check.
Step 4: Perform the Function Check
No magazine. No ammunition. Work through all four steps in sequence. First, cock the hammer. Second, engage the safety and pull the trigger. The hammer must not fall. Third, disengage the safety and pull the trigger. The hammer must fall cleanly.
Fourth, hold the trigger rearward, cock the hammer again, then slowly release the trigger forward. You must feel and hear a distinct click as the disconnector transfers the hammer to the trigger sear. No click may indicate a disconnector, spring, pin, fitment, or geometry problem. Reinstall and repeat the check from the beginning.
Lower finished? Build a complete rifle by pairing it with a matched upper. We carry uppers in a range of calibers, including 5.56 NATO, .300 BLK, 6.5 Grendel, .308, and more.
How to Install a Drop-In AR-15 Trigger Cassette
A drop-in trigger cassette puts all the moving parts into a single self-contained unit. There are no loose springs to orient, no disconnector to seat, and no hammer spring legs to position correctly. That work is done at the factory. Your job is to verify fit, seat the cassette, and drive two pins.
Preparing the Lower Receiver
Before the cassette goes in, clean the trigger pocket thoroughly. Remove any oil film, metal shavings, or debris from the pocket walls and pin holes. Clean the trigger pocket and follow the trigger manufacturer’s lubrication instructions before installation.
Check your lower's pin diameter before you order. Mil-spec lowers use 0.154-inch trigger and hammer pin holes. Some large-frame lowers run 0.170-inch. Most aftermarket cassettes are built for 0.154-inch lowers, but confirm this against the cassette manufacturer's specs. A mismatch means the cassette goes back, not in.
Seating the Cassette and Installing Pins
Drop the cassette into the trigger pocket and press it flush against the lower receiver walls. It should sit flat with no rocking. Insert the trigger pin through the front pin hole first, then the hammer pin through the rear. Both press in left to right using hand pressure and a punch. No spring tension to fight. No orientation to second-guess. That is the core advantage of a drop-in trigger over a standard mil-spec group.
If you are also building out a complete upper, we carry complete AR-15 uppers ready to drop onto your lower once the trigger work is done.
Anti-Rotation Pins
Pin-retention systems and accessory compatibility vary by trigger and receiver. Anti-rotation pins, such as those made by KNS Precision, may be appropriate for some configurations. Follow the trigger and receiver manufacturers’ instructions before adding them.
Some cassettes ship with their own captured-pin system already built in. Check the manufacturer documentation before adding third-party anti-rotation pins. Installing both can create a fitment conflict inside the pocket. When in doubt, contact us at (888) 706-0633 and we can confirm compatibility before you order.
Mil-Spec vs. Drop-In Triggers: Which Installation Makes Sense for Your Build?
The right answer depends on what the rifle is for and how much installation time you want to spend. Both approaches work. The specs and your use case should drive the decision, not marketing.
When a Mil-Spec Trigger Group Is the Right Call
A mil-spec trigger group runs a 5.5 to 6.5 lb pull weight. That is appropriate for a duty rifle, a truck gun, or any build where reliability under rough handling matters more than a light, crisp break. It is also the right starting point for a first build. Installing a mil-spec fire control group teaches you exactly how the hammer, trigger, and disconnector interact. That mechanical knowledge pays off later when you troubleshoot or upgrade.
Cost is another factor. A complete fire control group from a quality AR-15 lower parts kit is generally one of the more affordable trigger options, which can leave more room in the build budget. If the trigger wears or a spring breaks, you replace the individual component, not the entire unit.
When a Drop-In Cassette Is Worth the Cost
A drop-in trigger install makes sense once you already understand what you are replacing. Quality cassettes from reputable manufacturers are available with a range of pull weights and reset characteristics. Compare current product specifications and pricing before ordering. For a precision rifle or a competition build, that difference is measurable on paper and on the clock.
The trade-off is field serviceability. If the cassette fails, the whole unit comes out. You cannot swap a single spring at the bench the way you can with a mil-spec fire control group. Shooters running both a duty-weight rifle and a lighter competition build often keep a spare cassette in the range bag for exactly this reason.
If you are starting your build from the upper down, browse our complete AR-15 uppers ready to drop onto your lower to pair with whichever trigger path you choose.
Not sure which trigger setup fits your build? Call us at (888) 706-0633 and our team will point you to the right parts for your rifle and budget.
Common AR-15 Trigger Installation Mistakes and How to Avoid Them
Most trigger installation problems come down to four specific errors. Each one has a clear symptom, a clear cause, and a straightforward fix. Learn to recognize them before the rifle goes to the range.
Reversed Hammer Spring Legs
The symptom is light primer strikes or hammer follow. The hammer hits the bolt carrier instead of resetting cleanly. The cause may be incorrect hammer-spring orientation. Remove the hammer pin, lift out the hammer, and reinstall the spring according to the parts manufacturer’s diagram. Reinstall and verify the legs contact the trigger group body correctly. You can confirm orientation before firing by dry-cycling the action and watching the hammer reset under spring tension.
Missing or Misseated Disconnector Spring
The symptom is a trigger that does not reset after the shot. The cause is a disconnector spring that was omitted entirely, fell out during assembly, or was installed upside-down. Remove the trigger pin, lift out the trigger assembly, and reinstall the spring in the orientation specified by the parts manufacturer. If you skipped the disconnector spring completely, the trigger will feel mushy and the disconnector will not catch the hammer. This is not a range-safe condition.
Pin Walk
Pin-retention problems can cause stoppages, but the cause and correct remedy depend on the trigger, pins, receiver, and retention system. Inspect the manufacturer’s retention design before replacing standard pins with an aftermarket system. If your lower has a tension detent system built in, verify it is functional before assuming the pins are retained. This matters most on high-round-count builds and pistol-caliber lowers.
Skipping the Function Check
The function check is not optional. A rifle that fires with the safety engaged or fails to fire with it disengaged is not ready to leave the bench. Skipping this step after the upper is installed is one of the most common final-assembly errors. Run all four steps with no ammunition present and control the hammer so it cannot strike the receiver: safety on with the trigger pulled, safety off with the trigger pulled, trigger held back while the action is cycled, then trigger released until the reset clicks. If any step fails, the trigger group comes back out. No exceptions.
Building Your AR-15 in Denison, TX: Where Trigger Work Fits in the Full Assembly
The Trigger Group in the Context of a Full Lower Build
Trigger installation does not happen first. If you are building from a stripped lower receiver, the sequence matters. Install the magazine catch, then the bolt catch, then the lower receiver extension, buffer, and recoil spring. The trigger group comes next, typically as the fourth or fifth step. After the fire control group is seated and pinned, you move to the pistol grip and stock.
Getting that order right keeps you from having to backtrack. A buffer tube already torqued down does not interfere with trigger pin installation, but a pistol grip installed before the trigger group will block access to the safety selector. Work the sequence in order and the lower goes together cleanly.
Once the trigger is in and function-checked, the lower is ready to mate with a complete upper. That pairing gives you a functional rifle.
Sourcing Parts for Your Build from Grayson County
We're based right here in Grayson County, and builders across North Texas and into southern Oklahoma, just a short drive up US-75 across the Red River, order lower parts kits, individual fire control group components, and complete uppers through us. Everything ships from 4000 Texoma Parkway, Denison, TX 75020. Parts are designed for compatible mil-spec-pattern receivers, but fitment and manufacturer requirements must be confirmed before installation. If you're heading to the range at Lake Texoma or one of the outdoor ranges around Sherman and Denison, it helps to knock out your trigger install and function check at home first so the rifle is ready to run when you get there.
Texas builders should also keep NFA rules in mind if you plan to add a suppressor to your finished build. Suppressor and trigger-device rules can change. Verify current transfer, possession, tax, and modification requirements with ATF guidance and a qualified firearms attorney before purchasing or modifying regulated equipment.
If you have questions about a lower parts kit trigger or need help confirming compatibility before you order, call us at (888) 706-0633. Contact us for current availability and estimated shipping times.
Frequently Asked Questions
Do I need a gunsmith to install an AR-15 trigger?
Many experienced builders install AR-15 triggers at home, but the required tools and procedure vary by product. Follow the manufacturer’s instructions and consult a qualified gunsmith if you are unsure or if the function check fails. That said, if you are installing a match-grade trigger on a duty rifle, or if your function check fails twice in a row, a gunsmith is worth the call.
What is the difference between mil-spec and drop-in trigger pull weight?
Mil-spec trigger groups typically measure 5.5 to 6.5 pounds of pull weight. Drop-in cassettes commonly run 2.5 to 4.5 pounds, with a shorter, crisper reset. A lighter, more consistent pull may help some shooters reduce disturbance at ignition, but results vary by shooter, rifle, ammunition, and conditions.
Can I install a drop-in trigger in any AR-15 lower receiver?
Most drop-in cassettes are built around 0.154-inch mil-spec trigger pin diameter. Verify your lower's pin diameter before ordering. The cassette housing also needs to clear the trigger pocket walls. Most mil-spec-dimensioned lowers accept standard cassettes without modification, but confirm the specs on your specific lower before you buy.
How do I know if my trigger is installed correctly without firing the rifle?
Run a four-step function check. First, cock the hammer. Second, engage the safety and pull the trigger. The hammer must not fall. Third, disengage the safety and pull the trigger. The hammer must fall. Fourth, hold the trigger rearward, cock the hammer again, then slowly release the trigger until you feel and hear the reset click. If all four steps pass, your trigger install is done correctly.
What causes an AR-15 trigger to not reset after firing?
A missing or incorrectly seated disconnector spring is one possible cause. Remove the trigger pin, inspect the spring, and reinstall it according to the parts manufacturer’s orientation instructions. Re-run the function check after reassembly.
Is it legal to install an aftermarket trigger on an AR-15 in Texas?
Laws and ATF classifications can change, and legality depends on the specific device and configuration. Verify current federal, state, and local requirements with official sources or a qualified firearms attorney before installing an aftermarket trigger.
Ready to source the parts for your build? We stock lower parts kits, individual fire control group components, and complete uppers, all shipping nationwide from 4000 Texoma Parkway, Denison, TX 75020. If you would rather start with a finished build, browse our complete AR-15 rifles available at AR15Parts.com. Call us at (888) 706-0633 with any order questions, or browse the full catalog online and check current availability before ordering.
Ready to Get Started with AR15Parts.com?
Call (888) 706-0633 to speak with our team directly. We're ready to answer your questions, walk you through your options, and help you find the right solution for your needs. Whether you're just starting to plan or ready to move forward, we'll make the process simple and stress-free. Reach out today and let's talk about how we can help.