

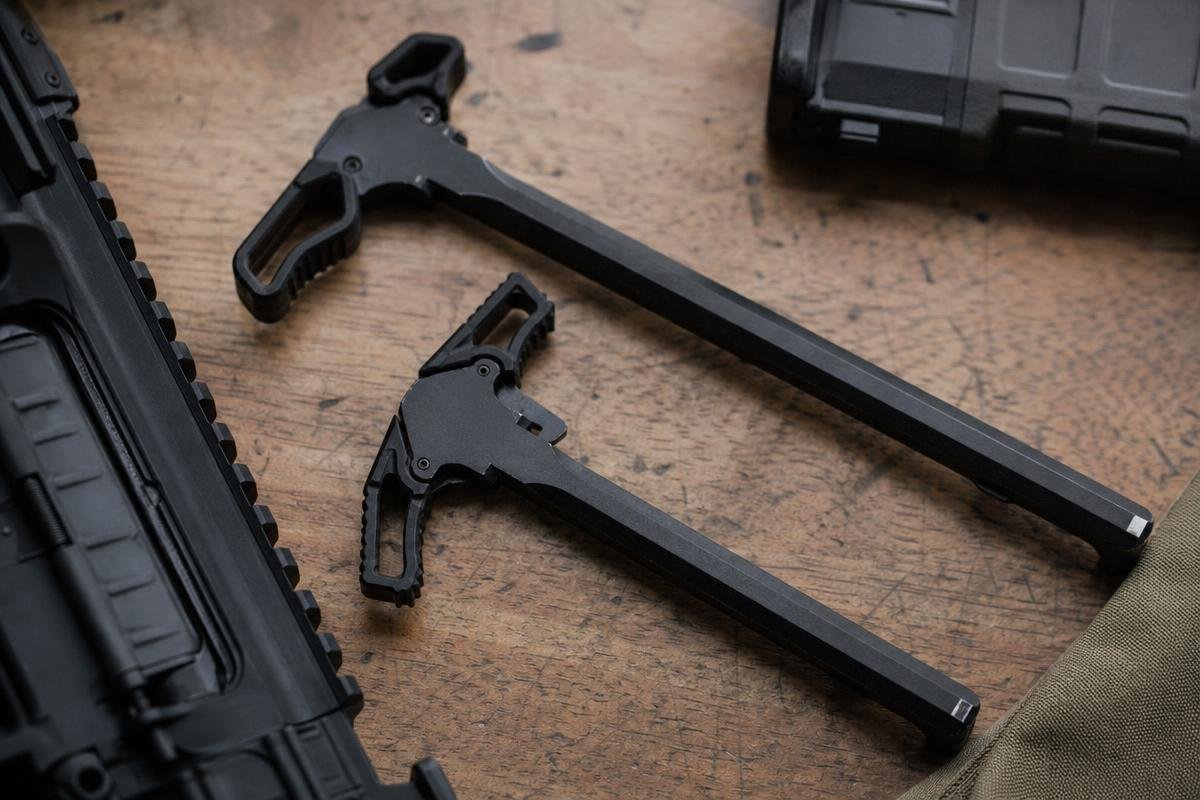
AR15Parts.com supplies AR-15 parts and accessories from Denison, Texas, including charging handles for basic carbines, optic-equipped rifles, and left-handed setups. Below, we explain how latch size, control layout, and your rifle configuration affect the right charging handle choice. AR15Parts.com operates from 4000 Texoma Pkwy, Denison, TX 75020, and ships nationwide.
Need help confirming charging-handle fitment for your upper, bolt carrier group, and optic setup?
Key Takeaways
- Standard charging handles suit basic rifles with iron sights, open rear-receiver access, and lightweight field use.
- Extended latches provide more finger room when an optic mount, magnifier, or gloves make a compact latch difficult to reach.
- Ambidextrous models provide latch access from either side and can make left-handed or support-side manipulation easier.
- For suppressed rifles, consider a handle designed to direct some gas away from the shooter, while remembering that it does not correct an improperly tuned gas system.
What Does an AR-15 Charging Handle Do?
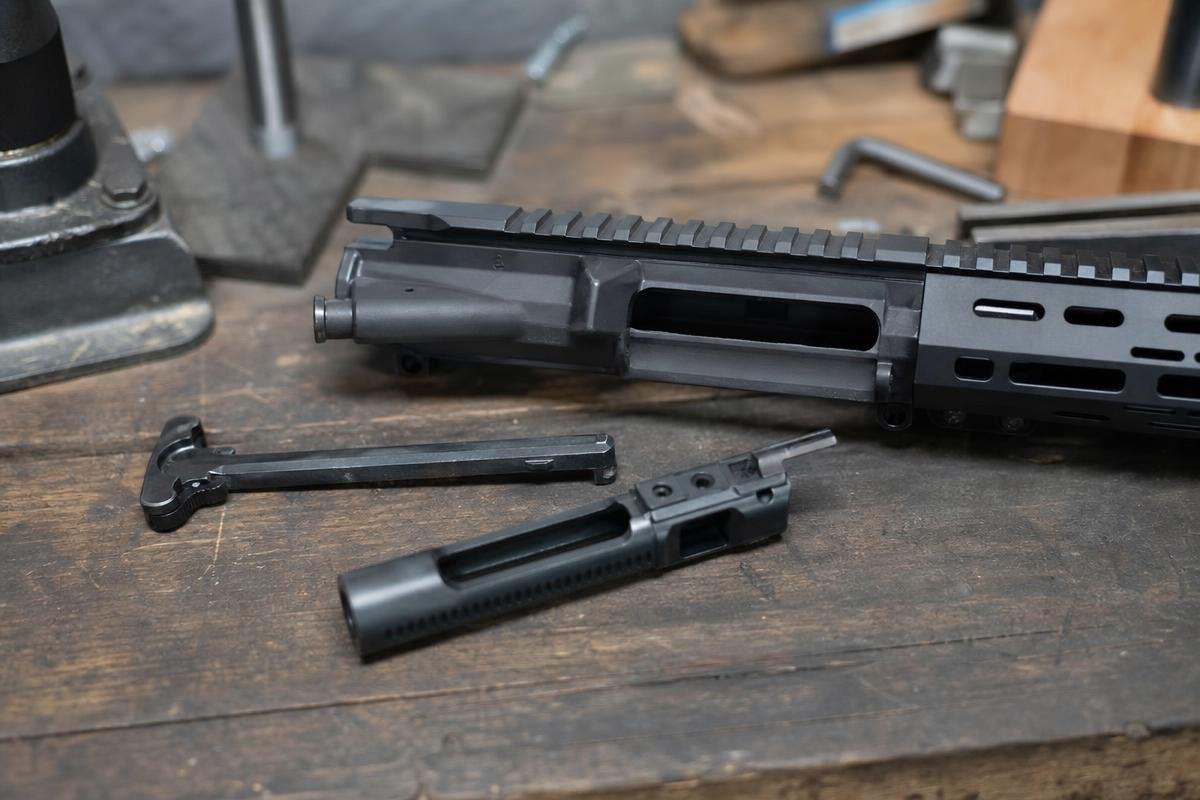
An AR-15 charging handle gives you a manual way to retract the bolt carrier group, chamber a round, clear the action, and perform basic malfunction checks. It is pulled to the rear before firing or during an interruption, then released so the recoil spring can drive the carrier forward.
How the Handle Works With the Bolt Carrier Group
The charging handle rides in a channel at the top of the upper receiver. Its internal lip catches the bolt carrier group during rearward movement, pulling the carrier, bolt, and buffer system back against spring pressure.
The handle does not cycle the rifle during firing. Once released, it remains retained in the upper while the bolt carrier group cycles independently. The latch holds the handle in place, preventing it from moving rearward under recoil.
Carrier dimensions matter during a build. Compare our AR-15 charging handles alongside your carrier and upper receiver so every part is built around the same pattern.
Why AR-15 Pattern Fitment Matters
A standard AR-15-pattern handle fits many mil-spec AR-15 upper receivers, but charging handles are not universal. AR-10, LR-308, and other large-frame rifles often use longer or differently shaped handles that will not automatically fit an AR-15 upper.
Verify the receiver pattern and the manufacturer’s fitment notes before ordering, especially when mixing receivers, carriers, and calibers. If you are uncertain about a build, browse our AR-15 charging handles for fitment details, or contact our team for help confirming the correct pattern before ordering.
Standard vs Extended Charging Handles and the Core Differences
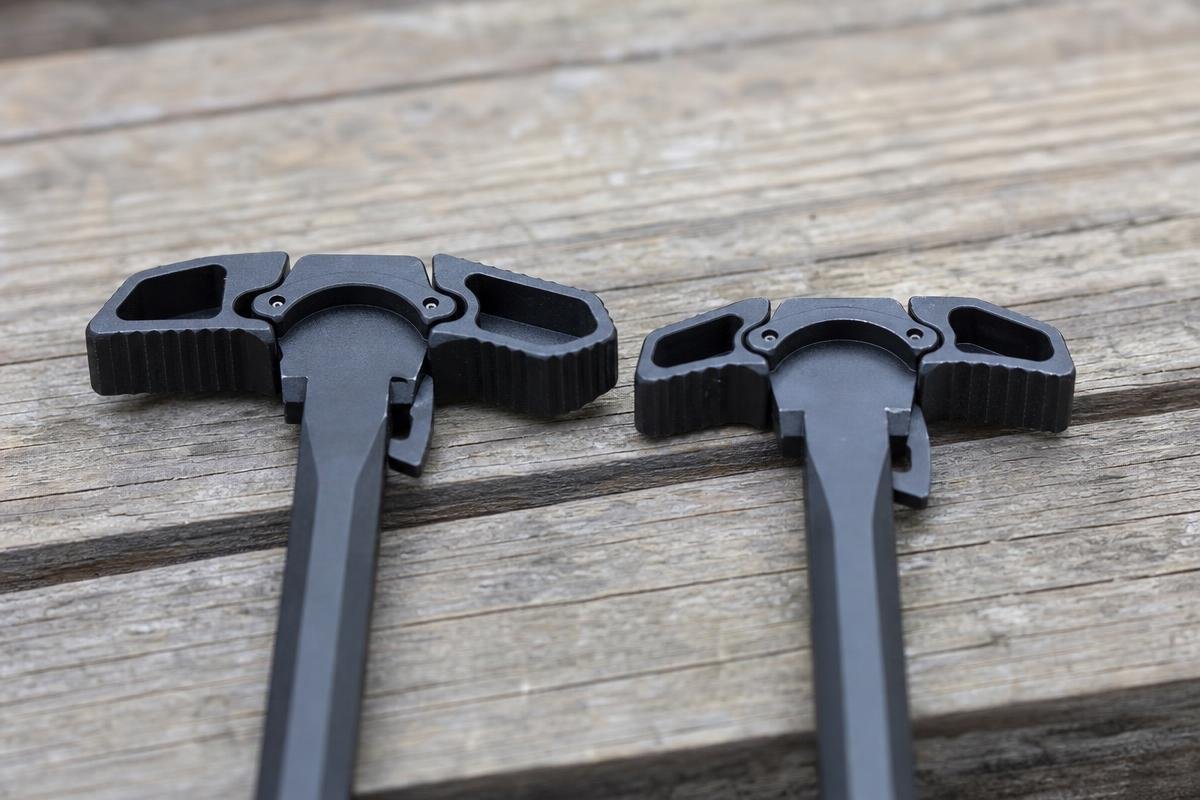
The real difference is latch size, latch geometry, and access, not rifle performance. A compact latch keeps the rear of the rifle streamlined, while an extended or oversized latch gives more surface for fingers or gloves. The right choice depends on the space around your optic, how often you work the rifle from the support side, and the gear you use with it.
| Type | Latch Size | Strongest Use Case | Main Tradeoff | Who Should Choose It |
|---|---|---|---|---|
| Standard | Compact | General range and field use | Less access around large optics | Shooters with clear rear access |
| Extended | Moderately enlarged | Optics and magnifiers | More snag exposure | Shooters needing extra finger clearance |
| Oversized | Large grasping surface | Gloved handling | Most exposed latch profile | Shooters using thick gloves regularly |
Compare charging-handle options with the upper receiver and accessories you plan to use.
Standard Handles Keep a Lower Profile
A standard AR-15-pattern charging handle works well when the rear of the receiver is open and your optic leaves enough room to grasp the latch. Its compact shape follows the familiar manual of arms and is a practical match for iron sights, red dots, and lightweight field rifles.
That lower profile also keeps the latch close to the receiver when the rifle is stored in a case, carried with a sling, or used around other equipment. It is often a sensible choice for a basic rifle setup, and our AR-15 charging handles include compact latch options that suit uncomplicated rear access.
Is an Extended Charging Handle Worth It?
An extended latch is worth considering when your fingers cannot comfortably reach a compact latch because of an optic mount, rear-mounted magnifier, or light gloves. It offers a larger release surface without necessarily requiring the largest available latch.
Look beyond latch length alone. Rounded or angled latch geometry may feel different from broad, squared wings, and a quality design should release smoothly and return to the receiver without rubbing nearby hardware. If the rifle is carried against a chest rig, sling, pack, or vehicle interior, check that the added projection does not create an unwanted catch point.
Oversized Latches Add More Grasping Surface
An oversized charging-handle latch has a larger grasping surface than a standard or typical extended option. It can be useful when thick work gloves or cold-weather gloves make a smaller latch difficult to find and release.
For shooters anywhere, a glove test is more useful than choosing by appearance. With the firearm unloaded, put on the gloves you actually use, work the handle through full travel, and make sure the latch can be released without striking the optic mount or rear sight.
A larger latch does not improve accuracy, change gas behavior, or fix cycling problems. If an upper is short-stroking or failing to feed, inspect the gas system, buffer setup, ammunition, and bolt carrier group instead of changing the charging handle.
When Should You Choose an Ambidextrous Charging Handle?
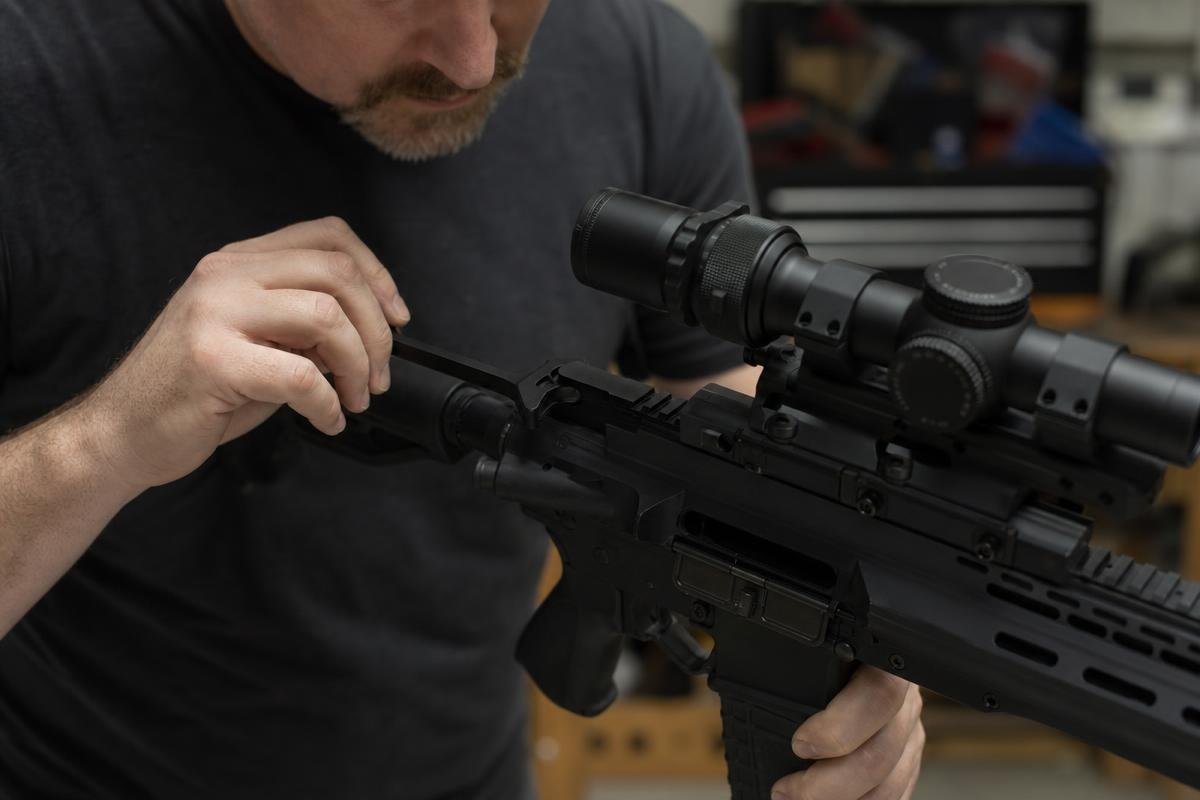
Choose an ambidextrous AR-15 charging handle when you need latch access from either side of the receiver. It can be helpful for left-handed shooters, support-side manipulation, and rifles where a single latch is difficult to reach. It is not mandatory for every right-handed build, but it can make certain handling positions more convenient.
Do Left-Handed Shooters Need an Ambidextrous Charging Handle?
No, but an ambidextrous handle often makes left-handed operation and support-side manipulation easier because the latches can be accessed from either side. The exact benefit still depends on rifle position, hand size, optic placement, sling interference, and the latch shape.
Ambidextrous handles use controls on both sides instead of relying on one latch location. Before using one in the field or at the range, test it unloaded from both shoulders and confirm that each latch releases consistently without contacting nearby equipment.
Handedness and Optic Clearance Are Separate Decisions
An ambidextrous design does not automatically solve clearance around an optic. Dual-latch models are available with low-profile wings, moderately extended latches, and larger release surfaces, so choose the latch geometry separately from the control layout.
For an LPVO with a large ocular housing, or a red dot with a rear-mounted magnifier, mount the optic and rear sight first, then check the room available for your fingers. If you can reach a compact latch cleanly, a standard profile may be enough. If not, move to a modestly extended or ambidextrous option that fits the actual clearance behind the receiver. Compare our ambidextrous and extended AR-15 charging handles once you know how much room your optic leaves behind the receiver.
Check Rear Sight and Mount Clearance Before Buying
A rear sight can limit access if it sits close to the charging-handle wings or leaves little room behind the receiver. Fold the sight, mount the optic, and pull the handle through its full travel before committing to a larger design.
Also inspect the latch hardware and its movement. A charging handle should open and close positively, with no rubbing against the upper, rear sight, optic mount, or receiver extension. If your setup needs a second look, contact our team before ordering parts for your build.
How to Match a Charging Handle to Your Rifle Setup
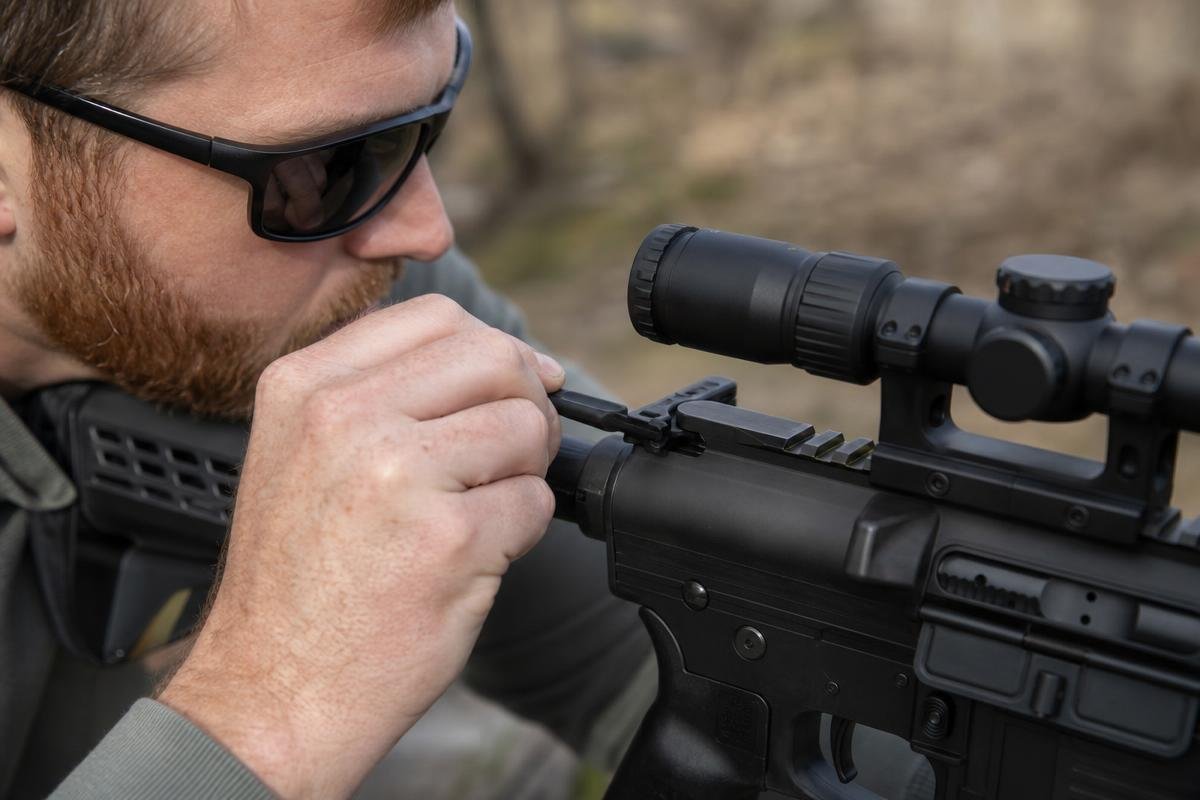
Start with the upper receiver, then evaluate the rifle as configured. An optic, rear sight, sling, gloves, suppressor use, and whether you work the action from your support side can matter more than a product photo suggests.
Step 1: Confirm the Receiver Pattern
Verify that your upper is an AR-15 pattern before ordering a replacement handle. AR-15 handles do not automatically fit large-frame AR-10, LR-308, or other receiver patterns.
Check the upper manufacturer’s fitment information if you are unsure. This matters on custom builds and some complete upper assemblies with nonstandard dimensions.
Step 2: Evaluate the Optic and Rear-Sight Layout
Mount your optic and rear sight, then check finger space between the charging handle, optic ocular housing, optic mount, and backup sight. A compact handle is often appropriate for iron sights, red dots, and optics that leave clear rear access.
An LPVO with a large ocular housing, a rear-mounted magnifier, or a low optic mount may leave less space for your fingers. In that case, a moderately extended latch can make sense. Compare the final layout on your rifle rather than assuming every optic setup needs the same handle.
Step 3: Consider Bare Hands and Gloves
Bare-hand range use usually does not require a large latch. A standard latch gives a low-profile grip for routine loading and malfunction clearance.
Cold-weather or heavier work gloves can require more surface area. Test the latch with the gloves you use, and choose an oversized option only when a smaller latch cannot be operated reliably.
Step 4: Account for Suppressor Use and Gas
Suppressed rifles can direct more gas toward the rear of the receiver. Some charging handles are designed with raised lips, vents, or redirecting features intended to reduce gas reaching the shooter’s face.
Those features may improve comfort for some setups, but they do not replace proper gas-system tuning, correct buffer selection, sound assembly practices, or safe ammunition choices. If the rifle shows cycling issues, diagnose the upper assembly rather than expecting a charging handle to solve them.
Step 5: Choose Single-Latch or Dual-Latch Controls
Choose a standard single-latch handle for uncomplicated general use, a modest extension when more finger clearance is needed, and an oversized latch for regular heavy-glove use. Choose an ambidextrous model if you are left-handed, move the rifle between shoulders, or prefer access from both sides.
Check material, latch fit, and the condition of the roll pin or retention hardware on any replacement. A handle should move smoothly in the upper and lock positively when closed. Browse our AR-15 charging handles to compare single-latch, extended, oversized, and ambidextrous options side by side before ordering.
Need help matching a charging handle to your rifle setup? Call us at (888) 706-0633.
Installation Checks and Common Charging Handle Mistakes
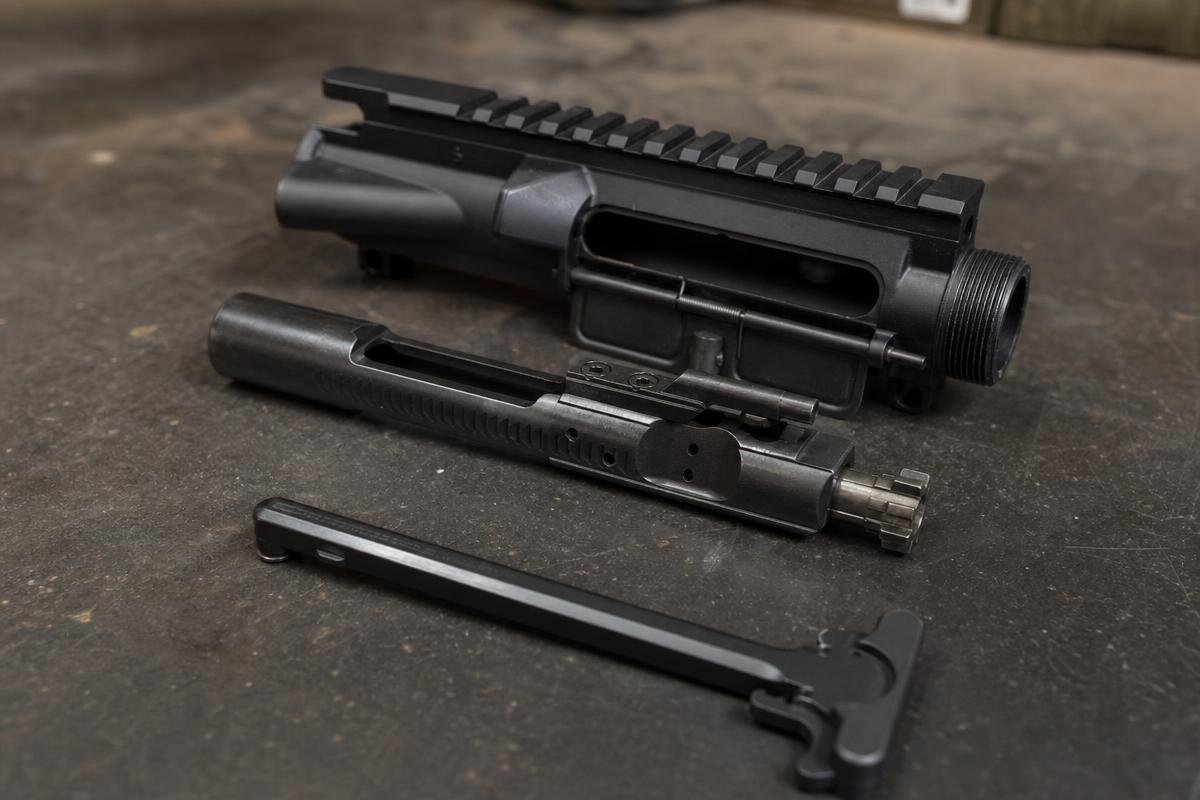
Installation is simple, but the order matters. Keep the firearm unloaded, remove ammunition from the work area, and follow the firearm manufacturer’s manual. A deliberate bench check is more important than forcing a part that does not fit correctly.
Basic Installation Order
Insert the charging handle into the upper receiver first. Guide it into the internal track until it reaches the wider relief cut, then seat the bolt carrier group beneath it and push both parts forward.
The upper receiver’s internal track retains the handle during normal operation. Do not force a handle that stops short or drags heavily. Confirm the receiver pattern and product fitment before filing, modifying, or replacing parts. If fitment is uncertain, use a qualified gunsmith.
Function Checks Before Use
A properly installed handle should travel smoothly without binding. Pull it fully rearward, release it, and confirm the latch engages positively against the receiver.
- Check full travel with the bolt carrier group installed.
- Check latch engagement with the handle closed.
- Check clearance around your optic, rear sight, and mount.
- Check that an extended or ambidextrous latch does not contact nearby hardware.
Inspect both sides of an ambidextrous model, since dual latches should release evenly and remain clear of your optic mount, sling hardware, and rear sight. Review the fitment notes on our AR-15 charging handles or your existing handle before taking the rifle to the range.
Problems a Charging Handle Cannot Fix
A new charging handle cannot correct short-stroking, extraction failures, gas-port problems, or an improperly matched gas system. Those issues involve the barrel, gas system, bolt carrier group, ammunition, or receiver setup.
Start diagnosis with the upper assembly and bolt carrier group rather than assuming the latch is at fault. If you need help selecting compatible parts, contact AR15Parts.com or call (888) 706-0633. We supply parts and accessories from 4000 Texoma Pkwy, Denison, TX 75020, with nationwide shipping available.
An Online Source for AR-15 Parts and Build Components
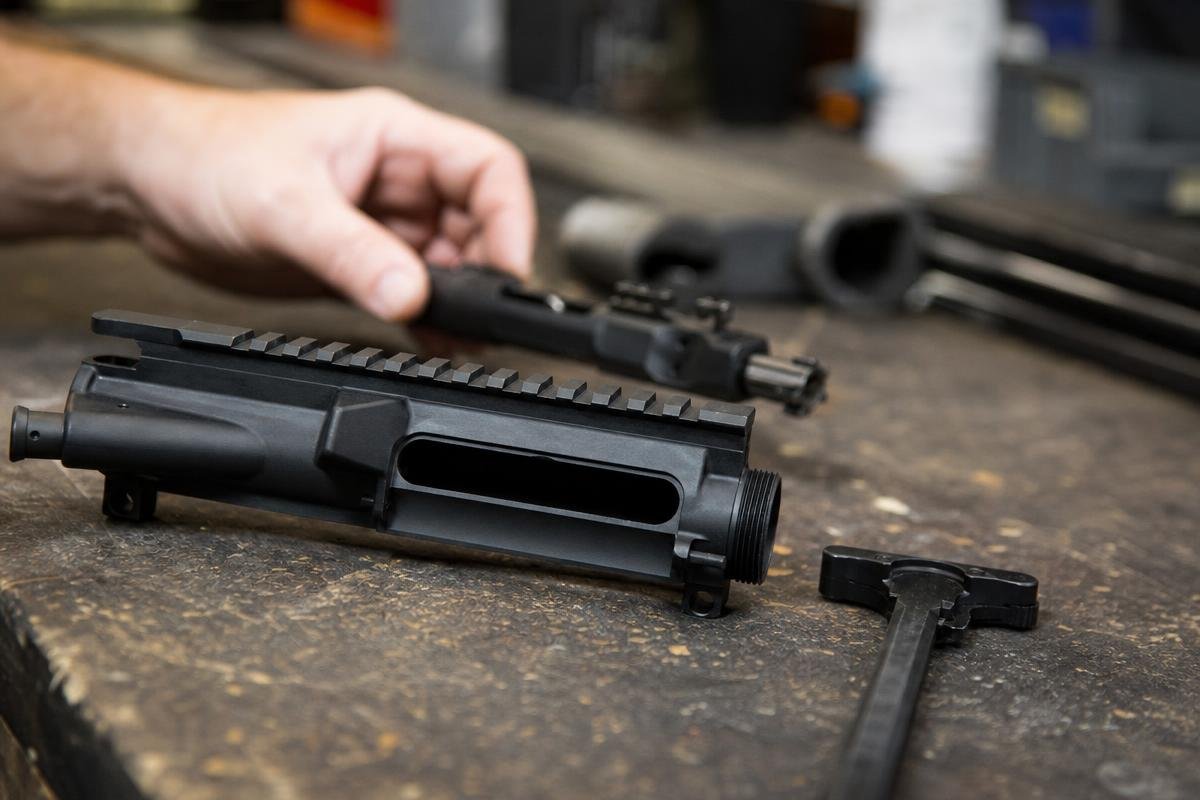
AR15Parts.com supplies firearms, parts, and accessories from 4000 Texoma Pkwy, Denison, TX 75020. We ship nationwide, so you can source build components and compare configurations before ordering.
Choose Compatible Parts as a System
Fitment begins with the upper receiver and bolt carrier group, then extends to charging-handle travel, gas-key clearance, optic position, rear-sight placement, and the rifle’s intended role. For a suppressed configuration, consider whether a gas-managing design is appropriate. For a lightweight field rifle, a compact latch may be the better match.
A complete upper is only ready to drop onto a mil-spec lower receiver when its individual product listing supports that claim. Do not assume every upper, lower, caliber, or buffer setup shares the same requirements.
Upper Categories to Consider
Charging Handle Categories to Consider
General-purpose carbine builds often work well with a standard or modestly extended latch. Browse our AR-15 charging handles for compact and extended options across common receiver patterns.
Suppressed and short-barrel builds may benefit from a gas-managing design. The same AR-15 charging handles category lists ambidextrous and gas-redirecting models to match with your bolt carrier group and optic layout.
Frequently Asked Questions
Is an Extended Charging Handle Latch Worth It?
An extended latch charging handle is worth it if an optic, gloves, or limited finger clearance makes a standard latch hard to grab. Extra surface area can make manual cycling easier without changing how your bolt carrier operates.
Do All AR-15 Charging Handles Fit Every AR-15?
No. AR-15 charging handle compatibility depends on your receiver pattern and product listing. Standard AR-15 pattern handles generally fit mil-spec upper receivers, but large-frame AR patterns can use different dimensions.
Does a Larger Charging Handle Improve Reliability?
No. An oversized charging handle latch does not change gas pressure, extraction, chambering, or bolt-carrier function. Reliability comes from correct gas-system setup, ammunition, bolt carrier components, and proper assembly.
Do Extended and Oversized Latches Snag More Easily?
Yes, larger latches can catch on slings, chest rigs, clothing, or brush more easily than a standard latch. Choose enough latch surface for your grip, but avoid unnecessary size on a rifle carried close to your body.
Do Right-Handed Shooters Need an Ambidextrous Charging Handle?
No. A right-handed shooter can run a standard handle well. An ambidextrous AR-15 charging handle makes more sense if you shoot from either shoulder, clear malfunctions around an optic, or want matching latch access from both sides.
Can I Install a Charging Handle Myself?
If you can safely unload and field-strip the firearm, follow the manufacturer’s installation and function-check instructions. Otherwise, consult a qualified gunsmith.
Compare charging-handle options with your upper, bolt carrier group, optic, and rear sight in mind. Browse our AR-15 charging handles, or call (888) 706-0633 if you need help confirming AR-15 pattern compatibility before ordering. AR15Parts.com is an online retailer shipping nationwide from Denison, Texas.
Ready to Get Started with AR15Parts.com?
Call (888) 706-0633 to speak with our team directly. We're ready to answer your questions, walk you through your options, and help you find the right solution for your needs. Whether you're just starting to plan or ready to move forward, we'll make the process simple and stress-free.
Reach out today and let's talk about how we can help.