
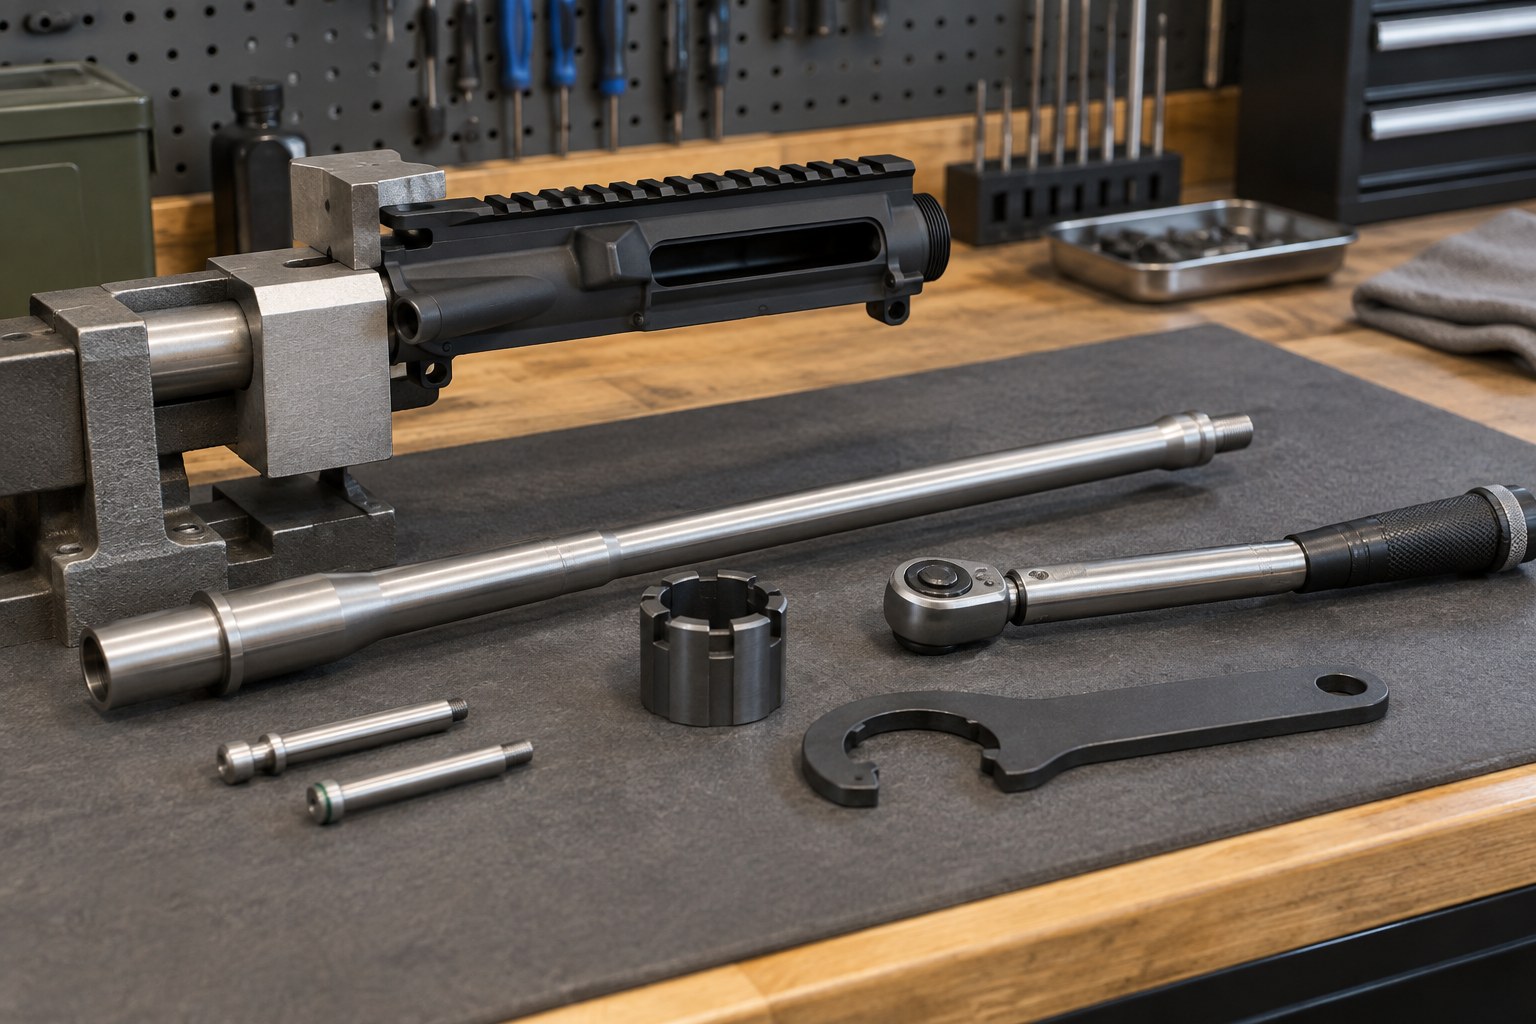
Learning how to install an AR-15 barrel correctly means more than threading a nut onto an upper receiver. It means indexing the barrel extension correctly, aligning the gas tube and gas block, torquing the barrel nut to the right spec, and confirming headspace before the rifle is ever fired. AR15Parts.com stocks the barrels, upper parts and tools that Denison and North Texas builders rely on for this job, even though our team does not perform the install itself. If you would rather skip the install entirely, a complete upper that ships assembled, headspaced and function-checked is covered below.
Key Takeaways
- Installing an AR-15 barrel requires a stable vise block or reaction rod, a torque wrench, a barrel nut wrench, headspace gauges and the correct grease for the threads.
- The barrel extension has an index pin that must align with the recess in the upper receiver before the barrel nut goes on.
- Barrel nut torque varies by nut design, so always follow the barrel nut or handguard manufacturer's published torque specification rather than a single fixed number.
- Gas block and gas tube alignment has to be checked and rechecked after the barrel nut reaches final torque, since rotating the nut can shift the gas port position.
- Headspace should be confirmed with GO and NO-GO (or field) gauges appropriate for the chambering before any live ammunition is fired.
- A qualified gunsmith should handle the install or the headspace check any time the process feels uncertain or the gauges do not behave as expected.
What Tools Do You Need to Install an AR-15 Barrel?
Before pulling a barrel out of the box, gather everything the job requires. Working without the right tools is the most common reason a barrel install goes wrong, whether that means a marred receiver, a misaligned gas system or a barrel nut that backs off after a few rounds.
| Tool | Why It Matters |
|---|---|
| Upper receiver vise block or reaction rod | Holds the upper receiver and barrel extension securely without clamping on the receiver's aluminum threads or feed ramps |
| Barrel nut wrench matched to your nut style | Engages the nut's notches or splines evenly so torque is applied without rounding it off |
| Torque wrench rated for the applicable range | Applies barrel nut torque accurately instead of guessing by feel |
| Headspace gauges for your chambering | Confirms the bolt closes on GO and does not close on NO-GO or field before firing |
| Anti-seize or manufacturer-recommended grease | Reduces galling on the barrel extension and barrel nut threads during torque |
| Gas tube alignment tool or gauge pin | Confirms the gas tube hole in the barrel nut lines up with the gas port before the gas tube goes in |
How to Install an AR-15 Barrel Step by Step
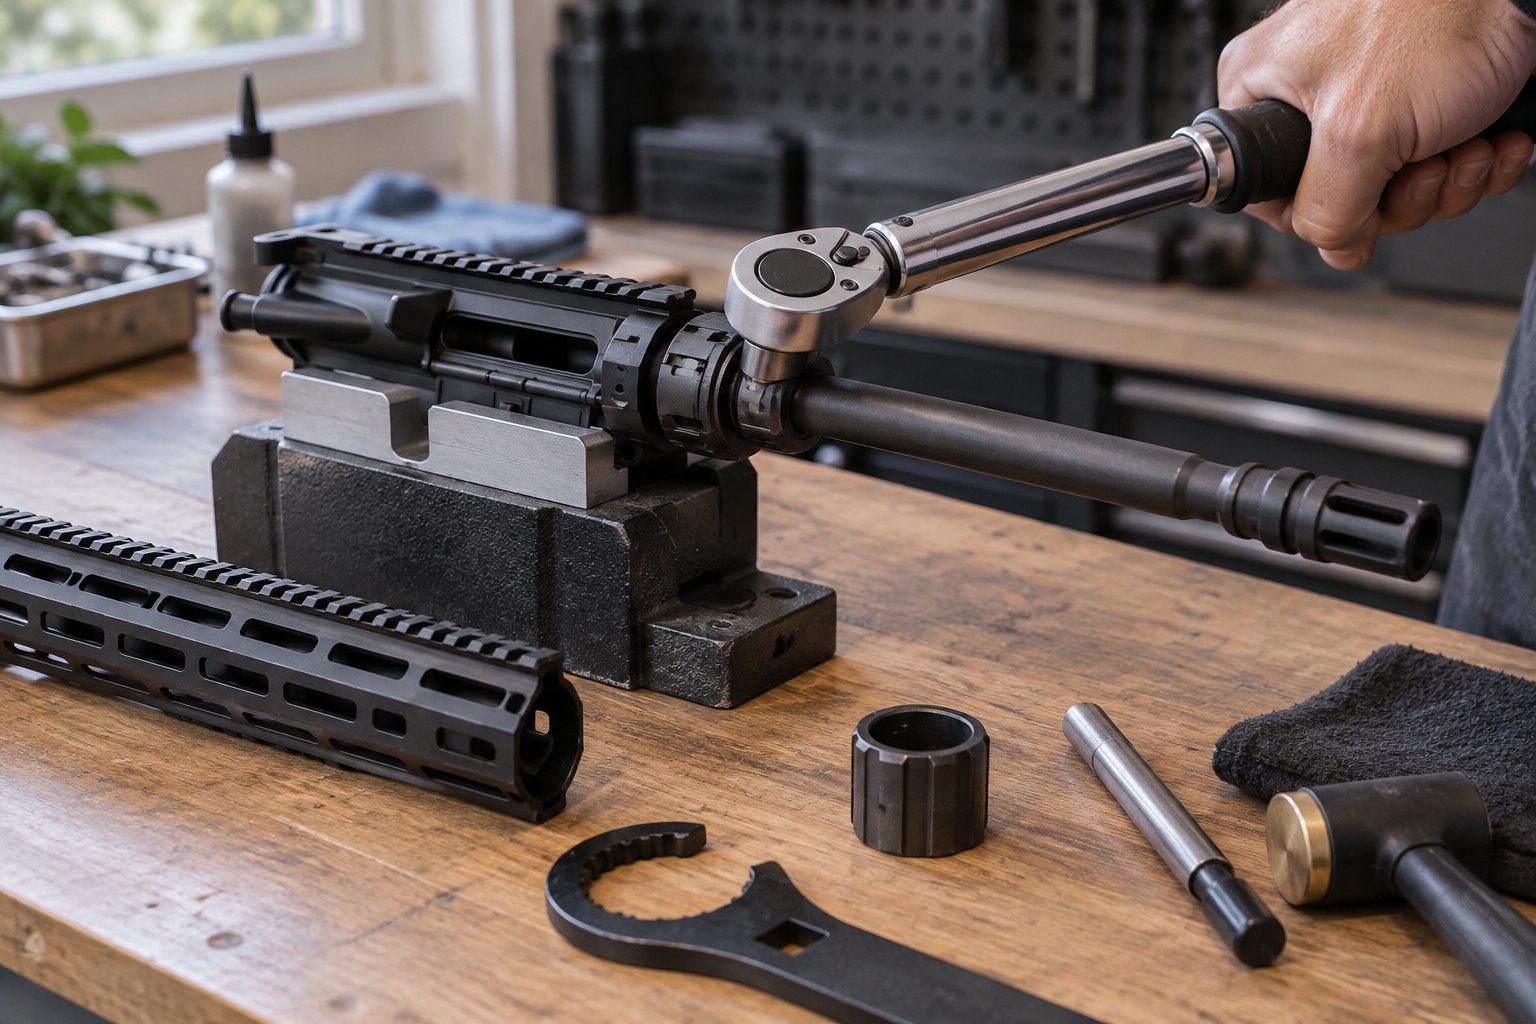
Every rifle manufacturer publishes its own instructions, and those instructions should always take priority over any general overview. The sequence below describes how the job is typically approached so you know what to expect and where problems tend to show up.
Secure the Upper Receiver and Prep the Barrel Extension
Start with an unloaded firearm and a clear workbench. Clamp the upper receiver in a vise block or reaction rod so the receiver cannot twist while torque is applied. Clean the barrel extension and the inside of the upper receiver's barrel seat, then apply a light coat of grease to the barrel extension threads and the shoulder that mates against the receiver.
Align the Index Pin and Seat the Barrel
The barrel extension carries an index pin that has to drop into a matching recess in the upper receiver. This keeps the barrel extension timed correctly relative to the ejection port and feed ramps. Slide the barrel into the receiver by hand until the extension seats fully and the index pin locates in its recess, then thread the barrel nut on by hand before reaching for any tools.
Torque the Barrel Nut to the Manufacturer's Specification
Barrel nut torque is not one universal number. It depends on the nut's design, thread pitch and the handguard system it has to work with, so always follow the barrel nut or handguard manufacturer's published torque specification rather than a figure pulled from an unrelated build. As one example of how much torque specs vary by design, Aero Precision publishes 65 ft-lb for its M5E1 barrel nut and a 35 to 65 ft-lb range for its ATLAS nut. Some general mil-spec references commonly cite a 30 to 80 ft-lb range for a standard round barrel nut, torquing in stages until the gas tube hole lines up with the receiver, but that range should be treated as a starting point rather than a substitute for your specific nut's instructions. If the barrel nut will not reach spec while staying aligned, stop and consult a qualified gunsmith rather than forcing it further.
Install and Align the Gas Block and Gas Tube
Once the barrel nut is at final torque, recheck alignment between the gas tube hole in the nut and the gas port in the barrel. Install the gas block over the gas port, following the manufacturer's instructions for whether it pins, clamps or set-screws in place, and confirm it sits square to the barrel. Insert the gas tube through the gas block and into the upper receiver, then attach the handguard per its own installation instructions. A gas block that sits even slightly off the port can cause cycling problems that look like an entirely different malfunction later.
Confirm Headspace Before Any Function Check
With the barrel installed and the bolt carrier group back in the upper, check headspace using GO and NO-GO gauges appropriate for the chambering before doing anything else. Only after headspace checks out should you move on to a function check with the rifle still unloaded, cycling the action by hand to confirm the bolt locks, unlocks and the extractor and ejector both engage normally.
How Do You Check Headspace After Installing a Barrel?
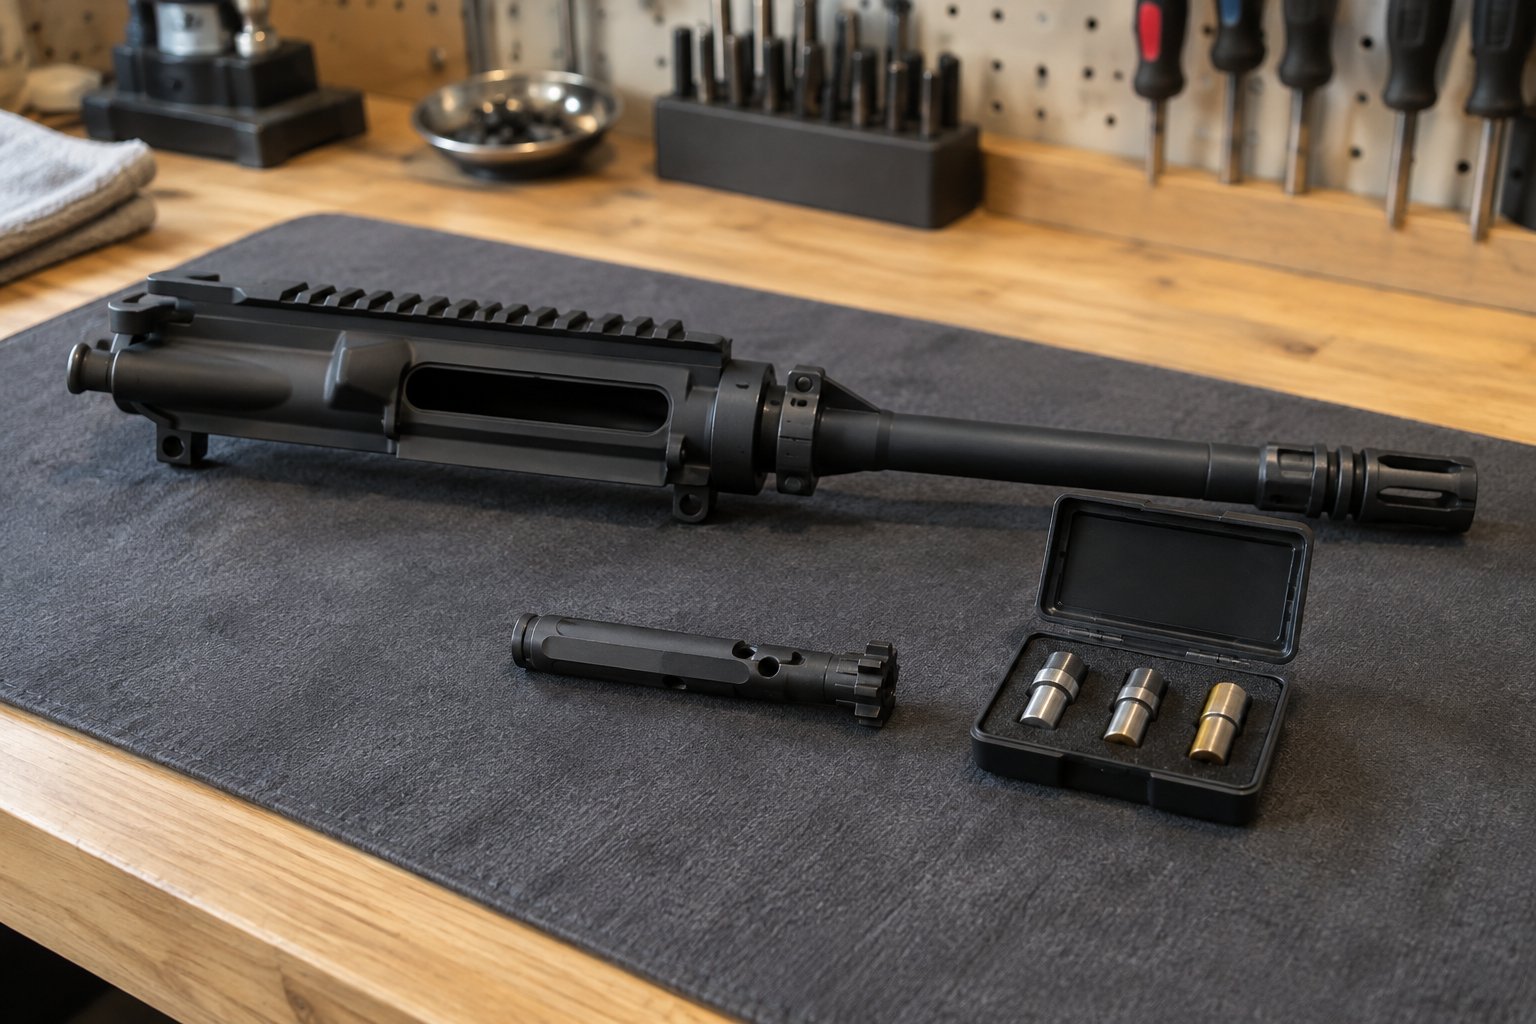
Headspace is the distance between the bolt face and the part of the chamber that stops the cartridge from moving forward. Too little headspace can keep the bolt from closing on a cartridge. Too much can allow the case to stretch or separate during firing, which is why a proper check matters every time a barrel is installed or replaced.
Understand What GO, NO-GO and Field Gauges Measure
A GO gauge represents the minimum headspace a chamber should accept, and the bolt should close on it without resistance. A NO-GO gauge represents the maximum headspace generally recommended when chambering a new barrel, and the bolt should not close on it. A field gauge is a separate, longer measurement sometimes used to judge whether an already-fired rifle remains within a safe operating range. These gauges are chambering-specific, so a 5.56 NATO gauge set is not interchangeable with a .223 Wylde or 300 Blackout set. For a closer look at the process, our AR Upper Hub headspacing guide breaks down each gauge type in more detail.
What to Do If the Bolt Closes on NO-GO
If the bolt closes on the NO-GO gauge, do not assume the barrel is unsafe to use, but do not fire it either. Recheck that the barrel extension is fully seated and the barrel nut is at final torque, since an under-torqued nut can sometimes present as excess headspace. If the bolt still closes on NO-GO after rechecking the install, stop and have a qualified gunsmith inspect the barrel, bolt and chamber before the rifle is fired.
When Should You Call a Qualified Gunsmith Instead of Installing It Yourself?
Some builders are comfortable with every step above and have the tools to back it up. Others are better served letting a qualified gunsmith handle the install, and there is no shame in that choice. Call a gunsmith if the barrel nut will not reach the manufacturer's torque spec while staying aligned with the gas port, if headspace gauges give a result you cannot explain, if the index pin does not seat cleanly, or if anything about the fit feels off compared to the instructions in front of you.
AR15Parts.com does not install barrels or perform gunsmithing, so for hands-on fitting, torquing or headspacing work, plan on a qualified gunsmith. If you want to confirm how to install an AR-15 barrel correctly before doing it solo, ask a gunsmith to walk through the first install with you. If a fully assembled option is more practical for your build, our complete AR-15 uppers come assembled in-house, headspaced and function-checked before they ship, which removes the install step entirely for that upper.
Barrel and Upper Parts Worth Having on Hand
Even builders who plan to install their own barrel benefit from having spare gas tubes, roll pins and handguard hardware on hand before starting, since small parts are easy to lose or damage during disassembly. Browse current options in AR-15 upper parts and AR-15 handguards before you start the job so a missing roll pin does not stall the project halfway through.
Which AR15Parts.com Barrel Fits Your Next Build?
Once your upper receiver, bolt and gas system are sorted out, barrel selection comes down to caliber, length and intended use. AR15Parts.com carries barrels from Ballistic Advantage, Wilson Combat, Satern Barrels, Shaw Barrels and our own in-house line across chamberings from 223 Wylde and 5.56 NATO to 300 Blackout, 308 WIN, 6.5 Grendel, 6mm ARC and more.
| Chambering | Common Barrel Lengths Available | Typical Use |
|---|---|---|
| 223 Wylde / 5.56 NATO | 10.5 to 24 inches | General-purpose rifles, carbines and precision builds |
| 300 Blackout | 8 to 16 inches | Short-barreled and pistol-length builds, often suppressed |
| 308 WIN | 16 to 24 inches | AR-10 pattern rifles for range and field use |
| 6.5 Grendel / 6mm ARC | 16 to 24 inches | Extended-range shooting on an AR-15 pattern receiver |
Barrel lengths and finishes change as products come and go, so browse current options rather than relying on a fixed list. For guidance on matching twist rate, gas system length and barrel profile to your goals, our AR Upper Hub guide on AR-15 barrel length walks through the tradeoffs in more detail.
AR-15 Barrel Install Help for Denison and Texoma Builders
North Texas humidity and the dust that comes off Lake Texoma during range season both affect how a rifle runs, which is one more reason to get the barrel install right the first time. A gas system that is only slightly out of alignment can turn into a cleaning headache after a summer of range days or a fall spent hunting deer and hogs around the Texoma area.
If you are gathering parts for a new build or replacing a worn barrel before hunting season, our team can help confirm which barrel, gas system length and handguard combination fits your upper receiver. We do not perform installs or headspacing ourselves, so for the hands-on work, plan on a qualified local gunsmith.
For fitment questions, product specs or order help, reach AR15Parts.com at 4000 Texoma Parkway, Denison, TX 75020 or call (888) 706-0633.
Frequently Asked Questions
Can I Install an AR-15 Barrel Without a Torque Wrench?
You should not skip a torque wrench when learning how to install an AR-15 barrel, since torquing by feel makes it easy to under-tighten or over-tighten the barrel nut. A torque wrench lets you follow the manufacturer's published spec accurately and repeat the same result on future builds.
Do I Need a Gunsmith to Install a Barrel?
Not always, but a qualified gunsmith is the right call if you lack the tools, if headspace gauges give an unexpected result, or if the barrel nut will not reach torque while staying aligned with the gas port. Many experienced builders handle the job themselves with the correct tools and patience.
What Happens If the Gas Tube Does Not Align After Torquing the Barrel Nut?
Recheck the barrel nut torque and confirm you are within the manufacturer's published range before making further adjustments, since some nut designs allow small in-range adjustments to reach alignment. If proper alignment cannot be reached within the manufacturer's spec, have a qualified gunsmith inspect the barrel extension, nut and receiver.
How Do I Know If My AR-15 Barrel Is Seated Correctly?
A correctly seated barrel has its extension fully mated to the upper receiver with the index pin located in its recess, and the barrel nut torqued to the manufacturer's specification without excess gap at the shoulder. If anything looks uneven or the nut will not seat flush, stop and have a qualified gunsmith check the fit.
Can a Short AR-15 Barrel Create Legal Issues?
Yes. A rifle barrel under 16 inches makes the firearm a short-barreled rifle under the National Firearms Act, and that configuration requires registration with the Bureau of Alcohol, Tobacco, Firearms and Explosives (ATF) before assembly. Confirm current federal and state requirements before building or installing a barrel shorter than 16 inches on a rifle-configured receiver.
Should I Reuse an Old Barrel Nut on a New Barrel?
Reuse a barrel nut only if the manufacturer confirms it is compatible with your new barrel extension and handguard system, and inspect the threads and nut for wear or damage first. When in doubt, a new barrel nut matched to the barrel and handguard removes a variable and is worth the extra step.
Ready to Get Started with AR15Parts.com?
Now that you know how to install an AR-15 barrel step by step, from indexing pin to headspace check, you can decide whether a hands-on build or a complete upper is the better fit. Whether you are picking a caliber, confirming a gas system length, or deciding whether a complete upper makes more sense than installing your own barrel, our team is ready to help. Reach AR15Parts.com by phone at (888) 706-0633, by email at [email protected], Monday through Friday from 8:00 AM to 4:00 PM Central.