
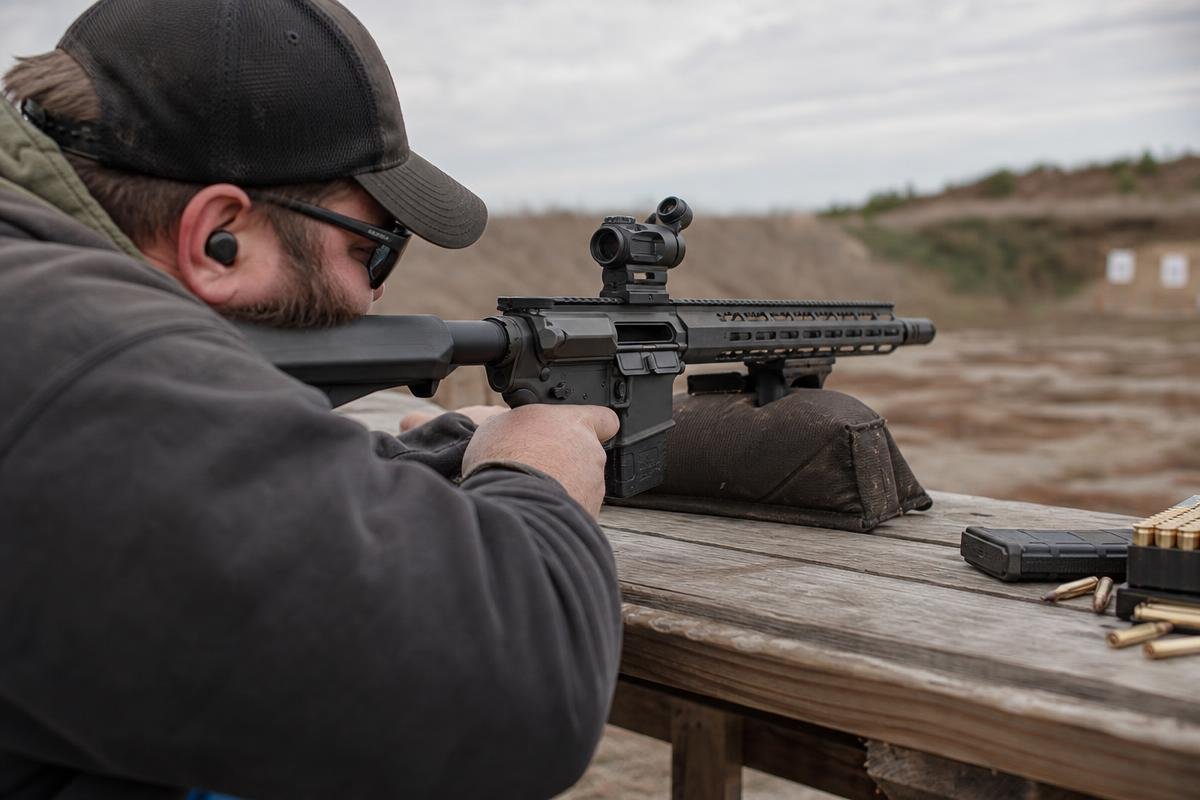
Zeroing aligns your optic’s point of aim with your bullet’s point of impact at a measured distance. Below, we cover safe setup and confirmation steps for rifle and pistol optics. AR15Parts.com ships from our Denison, TX facility. For product and fitment questions, call us at (888) 706-0633 or contact our team.
Key Takeaways
- Zeroing aligns your red dot’s point of aim with the bullet’s point of impact at a chosen distance.
- Use a close target to get on paper, then confirm the final zero at the actual distance you select, such as 25 or 50 yards.
- Fire three- to five-shot groups from stable support and adjust from the group center, not a single hole.
- Read the optic manual for click value and turret direction before turning windage or elevation adjustments.
How Do You Zero a Red Dot at 25 Yards?
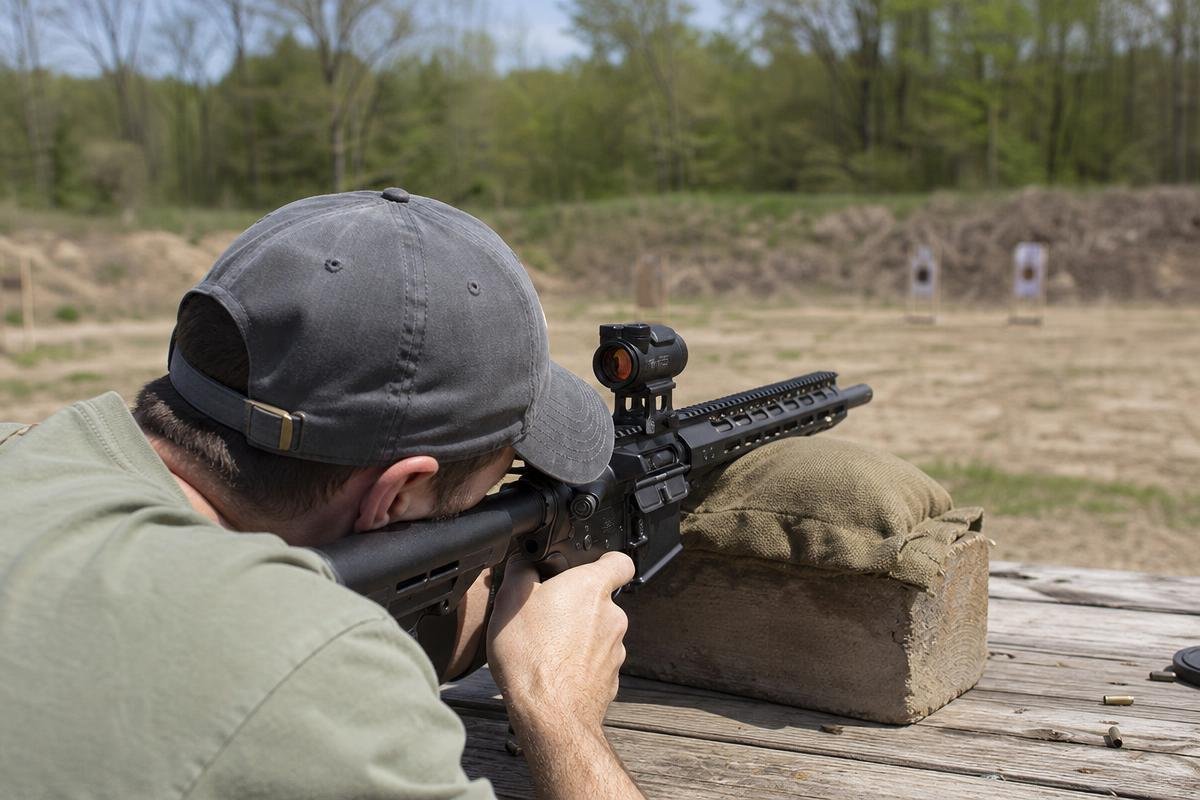
To zero at 25 yards, first use a close target to ensure shots are on paper, then fire a supported three- to five-shot group at a measured 25 yards. Measure the group center, calculate the required correction from your optic’s click value, adjust, and fire another group to verify.
For dependable results, use a secure mount, the same ammunition for every group, stable support, clearly marked targets, and deliberate turret corrections. Close-range firing is only a way to get impacts on paper. It does not automatically establish a 25-, 36-, or 50-yard zero because the optic sits above the bore and the bullet follows a rising and falling trajectory.
Before transporting or firing, follow applicable law and the posted rules of the specific range. If you are building or updating a rifle for an optic, complete AR-15 uppers can provide a matched upper assembly for your lower receiver.
What Does Zeroing a Red Dot Actually Change?
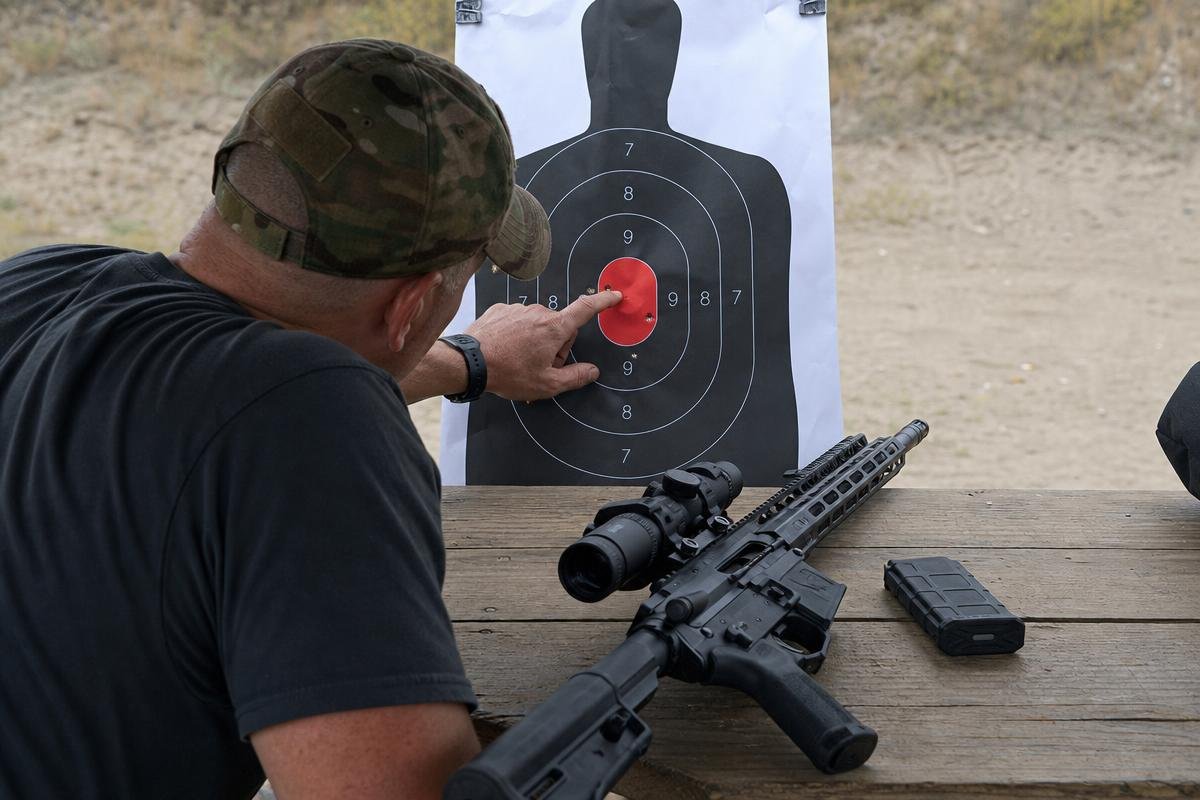
Zeroing a red dot changes the aiming reference, not the bullet’s path. You adjust windage and elevation so the center of your group meets your aiming point at one selected distance. At other distances, impacts may be above, below, left, or right of that point depending on trajectory and setup.
The Dot Is an Aiming Reference, Not the Bullet Path
Even with the dot centered, impacts can be low at close distance because the optic is mounted above the bore. This is mechanical offset. As the bullet travels, its trajectory changes relative to the line of sight, so a close-range impact is not interchangeable with the impact at your intended final zero distance.
Choose a final zero based on your firearm, cartridge, optic height, barrel length, ammunition, and intended use. A 25-yard zero may be practical for some rifles, while other shooters prefer 50 yards. Confirm the result with the ammunition you plan to continue using. Different barrel and gas-system configurations can also produce different points of impact.
Why a Three-Shot Group Comes Before Any Adjustment
Fire a supported three-shot group before moving windage or elevation. One shot may be affected by trigger press, inconsistent support, ammunition variation, or shooter movement. The center of a group gives you a useful reference for correction.
Use a bench, bags, or another stable support. Mark the group center and make one measured correction. This avoids chasing individual holes and makes it easier to identify a loose mount, inconsistent ammunition, or a problem with the firing position.
If you need a factory-configured starting platform for optic setup, our AR-15 complete rifles are available for customers comparing complete rifle options.
What Should You Pack to Zero a Red Dot?
A successful red-dot sight zero begins with stable equipment and ammunition consistency. Pack everything needed to shoot, measure, mark, and repeat groups without improvising at the bench.
Printable Red Dot Zeroing Checklist
Use a rigid target backer and write down each group rather than relying on memory. A simple record can prevent confusion when you return to confirm the same rifle and optic later.
- Unloaded firearm with a mounted red dot
- Correct ammunition, preferably from the same lot you intend to use
- Paper targets and a firm target backer
- Eye and ear protection
- Stable rest, shooting bags, or a supported bench setup
- Optic adjustment tool or a coin, if your turret accepts one
- Marker, tape, ruler, and spare targets
- Optional laser bore sight
On each target, record the firearm, ammunition, distance, optic height if known, group size, turret changes, and final point of impact. A laser bore sight can help place the first live rounds on paper, but it cannot replace a live-fire confirmation group.
Check the Mount Before You Fire
Verify that the optic is seated in the correct rail position and that the mount and mounting hardware are tightened to the optic or mount manufacturer’s specifications. Do not guess at torque values, and do not overtighten fasteners.
Changing ammunition can shift point of impact. Shoot a confirmation group after changing loads, even when bullet weight is similar. This applies to 5.56 NATO complete uppers and other rifle configurations.
How Do You Zero a Rifle Red Dot Step by Step?
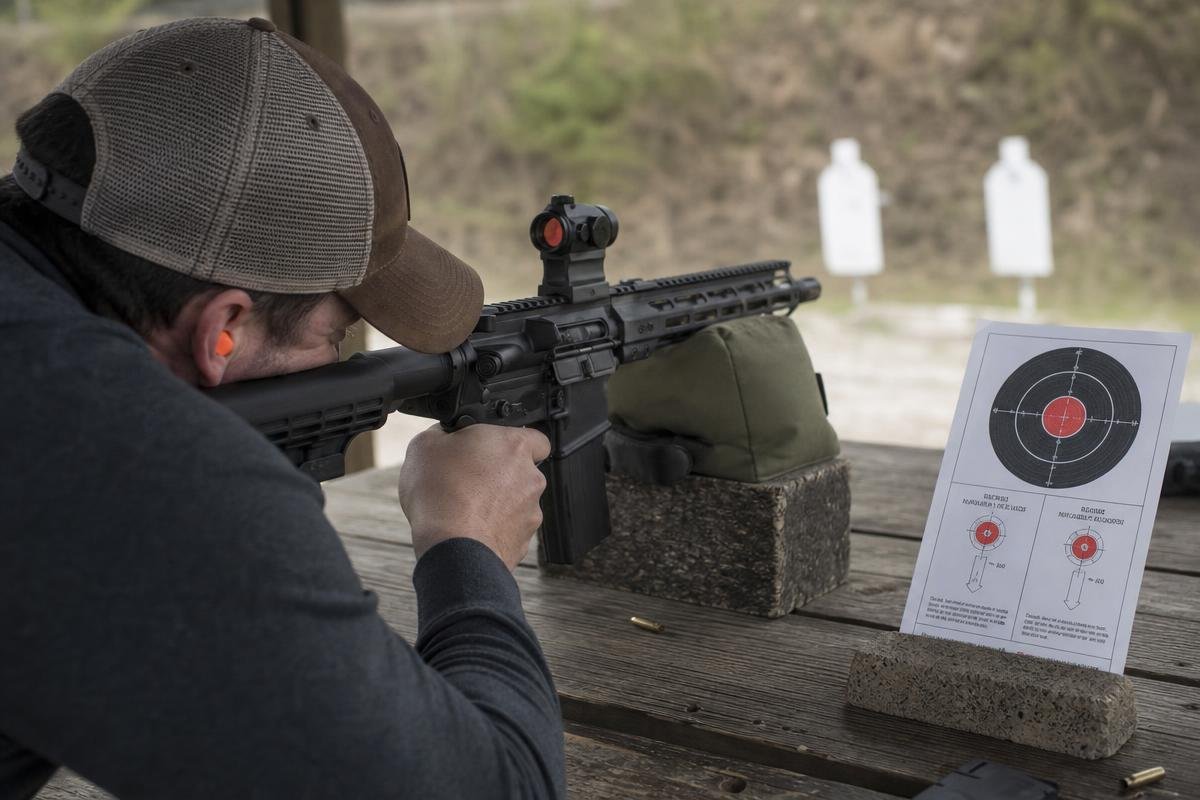
Start close enough to keep impacts on paper, shoot a supported group, adjust from its center, and then confirm at your selected final distance. Treat the close target as setup work and the longer measured target as the actual zero confirmation.
- Inspect the firearm and mount. Verify the rifle is unloaded before setup. Check that the mount is secure, the battery works, and the optic does not shift in the mount.
- Begin at 10 to 15 yards. Measure the distance instead of pacing it off. Use this target to get impacts on paper, not as a substitute for your final rifle zero.
- Fire a supported group. Use a bench, bags, or stable rest. Fire three shots with the same ammunition and aim at the same target point.
- Adjust from the group center. Measure how far the group center is from the aiming point, then move the point of impact toward that point using the optic’s specified click value.
- Confirm at the selected distance. Move to a measured 25, 36, or 50 yards, depending on your intended zero. Fire another supported group, make small corrections, and shoot a final verification group.
Start at 10 to 15 Yards
Close-range work can save ammunition when a newly mounted optic is substantially off. With a typical AR-pattern optic height, a group may land noticeably below the dot at 10 yards because of sight height over bore. Do not simply move that group to the dot and assume the rifle is finished.
Set the dot brightness low enough that the dot does not obscure the aiming point. A precise aiming mark, such as a one-inch square or cross, is easier to use than a large bullseye with a bright dot covering its center.
Confirm at 25 to 50 Yards
A 25-yard target lets you establish a practical final zero if 25 yards is your chosen distance. If your intended zero is 50 yards, make any needed close-range corrections at 25, then move back to 50 yards and establish the final point of impact there.
Use the same load for every group. A consistent platform helps, whether you begin with a factory rifle or a custom build.
How Many Clicks Should I Adjust a Red Dot?
The required clicks depend on the optic’s adjustment value and target distance. Check the manual first. For an optic marked 1 MOA per click, one click moves impact about 0.10 inch at 10 yards, 0.26 inch at 25 yards, and 0.52 inch at 50 yards.
For example, if a group is 2 inches low and 1 inch left at 25 yards with a 1-MOA-per-click optic, move the point of impact up about 8 clicks and right about 4 clicks. If the optic uses 0.5 MOA clicks, double those numbers. Turret markings usually indicate the direction impact should move, but the manufacturer’s manual controls if the markings differ.
Label the target before adjusting: “group low and left” requires elevation up and windage right. Make the correction from the group center, fire another group, and repeat only if needed.
What Distance Should You Zero a Pistol Red Dot?
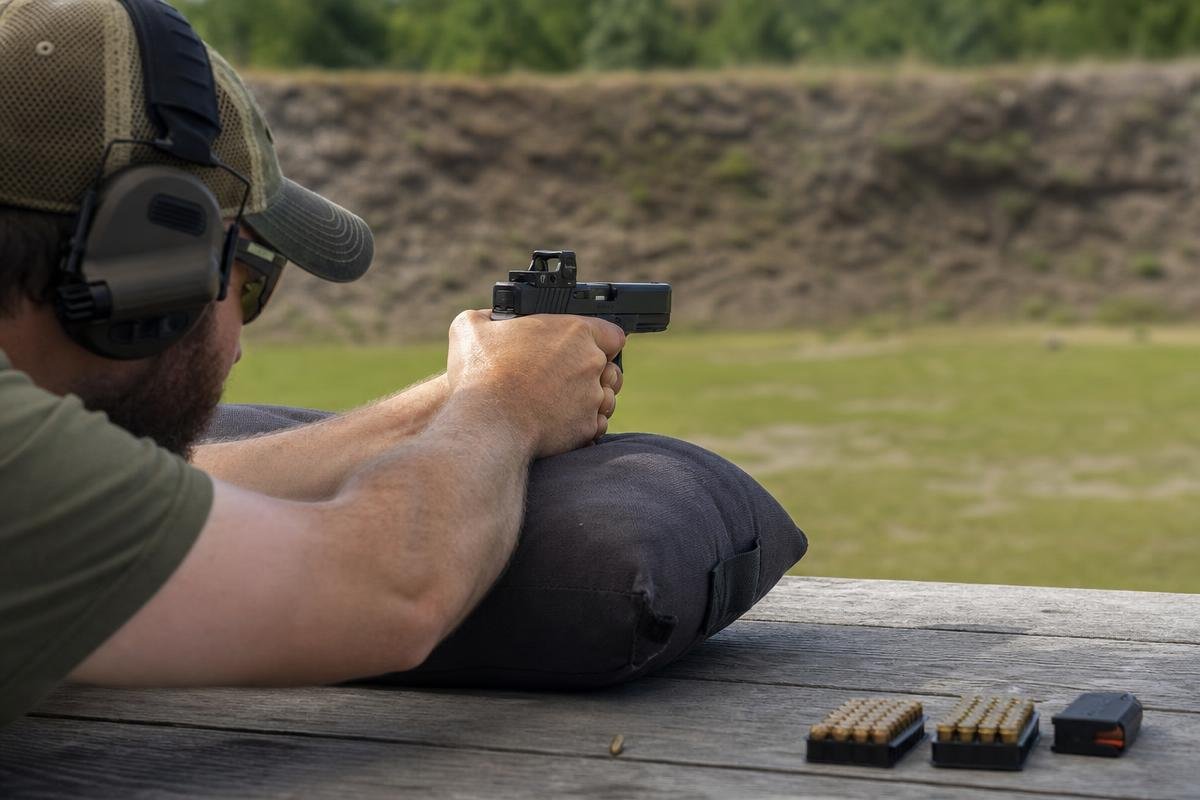
There is no universal pistol red-dot distance. Start close enough to keep shots on paper, then confirm at the distance that fits your training or intended use. Many shooters use 10 to 15 yards to begin and 25 yards to confirm, but ammunition, sight height, and practical use should determine the final choice.
Choose a Distance That Matches Intended Use
Pistols have different recoil characteristics, support requirements, and typical engagement distances than rifles. Support your hands on bags or a rest, use a controlled trigger press, and fire small groups with the ammunition you plan to train with or carry where lawful.
| Platform | Close Setup Distance | Common Final Confirmation Distance | Important Consideration |
|---|---|---|---|
| AR-pattern rifle | 10 to 15 yards | 25 or 50 yards | Optic height over bore creates close-range offset. |
| Rifle with a lower-mounted optic | 10 to 15 yards | 25 to 50 yards | Actual hold differs with cartridge, barrel, and mount height. |
| Slide-mounted pistol red dot | 7 to 15 yards | 15 to 25 yards | Grip, trigger press, and recoil control can enlarge groups. |
These are starting frameworks, not universal ballistic prescriptions. Confirm your own firearm with your own ammunition at the distance that matters to you.
Confirm Iron Sights and the Dot Separately
Cowitnessing describes the visual relationship between iron sights and the dot through the optic window. It does not prove both systems share the same zero. Confirm the irons independently, then confirm the red dot with a separate supported group.
Keep rifle and pistol records separate. Their sight heights, recoil behavior, ammunition, and final zero distances are not the same. Use a fresh target and record for each setup.
Need help selecting an optic-ready setup or parts for your build? Call our team at (888) 706-0633.
Fix These Red Dot Zeroing Problems Before Forcing the Turrets
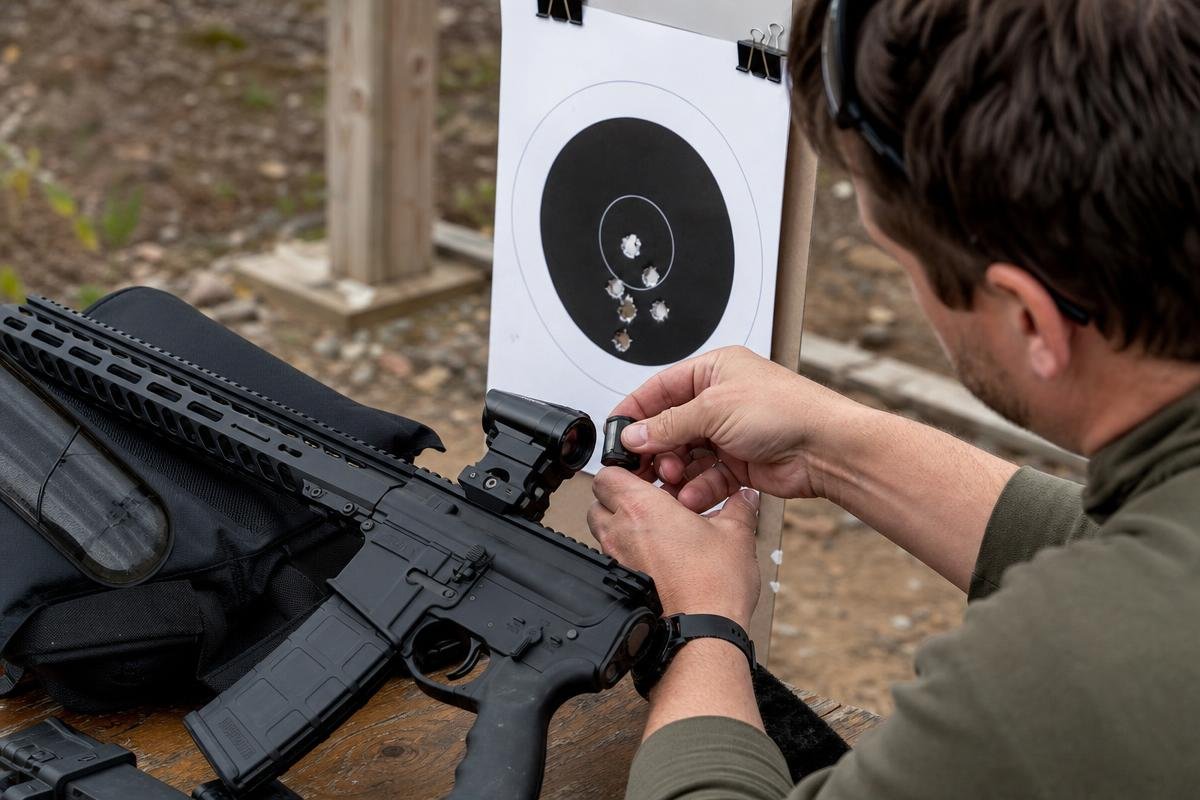
Do not force an adjustment dial when impacts do not move as expected. Check the mount, firearm, target stand, ammunition, and shooting support first. A poor test setup can look like an optic problem.
Poor Groups and Inconsistent Impacts
Scattered groups after an adjustment usually point to an unstable test rather than a failed optic. Shoot three to five rounds from a bag or solid rest, measure the group, and avoid changing the turrets until you have a usable group center.
Check that optic fasteners are secure and use the same ammunition lot while zeroing. Inspect the barrel and muzzle device for fouling, damage, or anything that could contact the bullet path. A shifting mount, loose muzzle device, or inconsistent ammunition can move impacts between groups.
Limited Adjustment or Reverse-Direction Confusion
Stop if a turret reaches its limit or will not move normally. Do not add force. Verify mount placement, optic alignment, and firearm condition before assuming the optic has failed.
Make one small test adjustment and fire another group to confirm the direction of movement. If the optic cannot reach zero, follow the manufacturer’s instructions or have a qualified gunsmith inspect the setup. A crooked mount or alignment issue can consume the adjustment range.
Changes That Require a Confirmation Group
Confirm your zero after any change that can alter the relationship between the barrel, optic, and mount. Fire a supported group before relying on the rifle again.
- Changing ammunition or bullet weight
- Removing and remounting the optic
- Changing the optic mount
- A major impact to the optic or rifle
- Changing the upper assembly
Repeatable testing can also help identify rifle function issues tied to a changed configuration. If you need product-selection help, contact AR15Parts.com at (888) 706-0633.
Outdoor Range Conditions That Can Affect Confirmation Groups
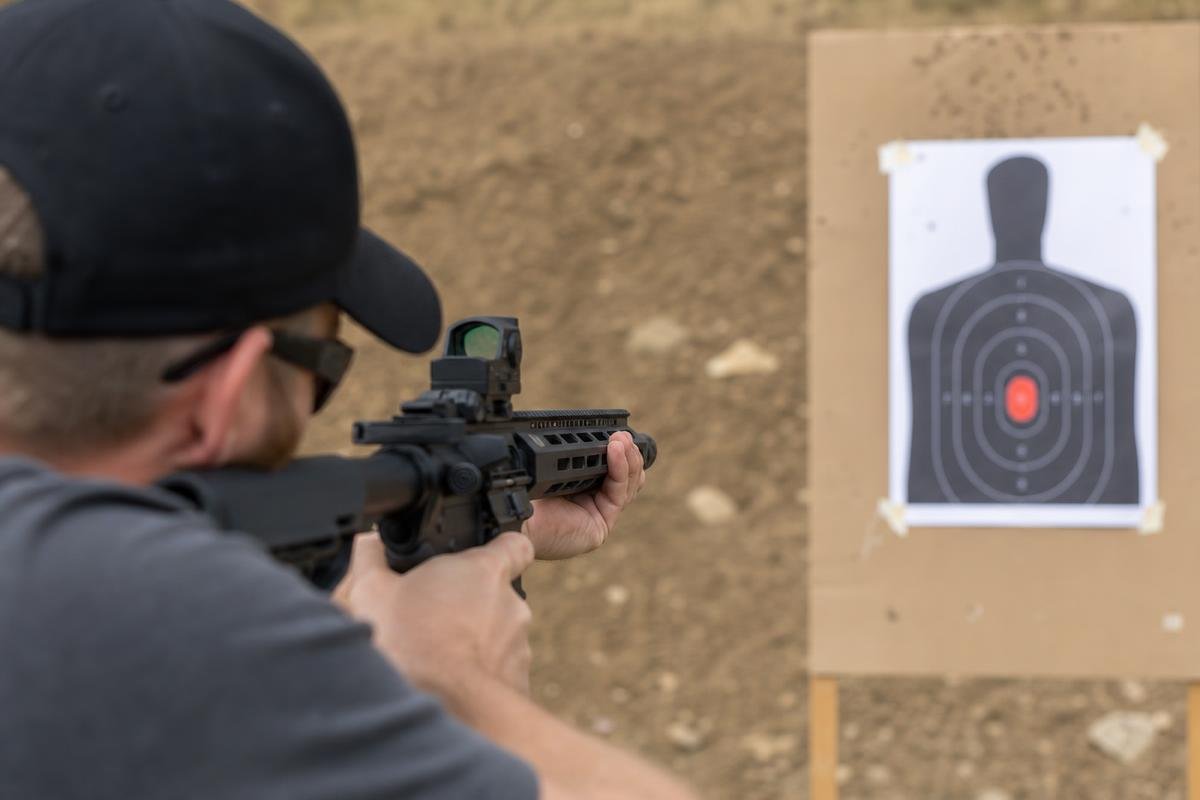
Outdoor range conditions can influence how clearly you see the target and how steadily it stays in place. Plan a confirmation session when you can use a measured firing line, a solid bench or supported position, and a target stand that holds paper firmly.
Wind, Heat Shimmer, and Changing Light
Wind can move lightweight paper, especially when it is taped to thin cardboard. Use a rigid backer, secure all corners, and wait for the target to settle before breaking each shot. A moving aiming mark makes group measurement unreliable.
Summer heat can create mirage over a longer firing lane, and bright sunlight can make a dot appear larger than it is. Use target contrast, keep the optic brightness as low as practical, and choose a dot intensity that leaves the center of your aiming mark visible.
Record the Conditions Behind Your Final Zero
Write down ammunition, bullet weight, distance, optic setting, final group size, support method, and any relevant range conditions. Those notes help distinguish a changed load or mounting issue from a true shift in zero at the next session.
For product questions, call (888) 706-0633 or use our contact page. Follow applicable law and the rules of the specific range before transporting or firing your firearm.
Frequently Asked Questions
What Is the Best Red Dot Zero Distance?
The best distance depends on your rifle, cartridge, and intended use. Start close at 10 to 15 yards to get on paper, then confirm at 25 or 50 yards with the ammunition you plan to carry or train with. A pistol red dot zero is commonly confirmed at 10 to 25 yards.
Can I Zero a Red Dot Without a Bench Rest?
Yes, but stable support makes the job more accurate. Sandbags, a backpack, supported prone, or a solid barricade can work. Unsupported shooting adds movement, making it harder to tell shooter error from a needed red dot windage and elevation adjustment.
Does a Laser Bore Sight Replace Live-Fire Zeroing?
No. A laser bore sight gives you a starting reference and can save ammunition getting onto the target. Live-fire groups establish actual zero because barrel, ammunition, mount position, and optic height all affect point of impact.
Do I Need to Recheck Zero After Changing Ammunition?
Yes. Different bullet weights, loads, and manufacturers can shift impact, even in the same caliber. Confirm zero after changing ammunition, removing and remounting the optic, a hard impact, or a major rifle configuration change. Final groups should be fired at the distance that matches your real use.
How Often Should I Confirm My Zero?
Confirm your zero before a hunt, match, training day, or any serious use. Check it after transport if the rifle was bumped, after battery replacement if the optic was disturbed, and whenever groups begin landing somewhere unexpected.
What If My Red Dot Runs Out of Adjustment?
Do not force the turret. Check that the mount is seated correctly, the optic is not canted, and the firearm is mechanically sound. Read the optic instructions for its adjustment range, then contact AR15Parts.com at (888) 706-0633 with product questions about an optic, mount, upper, rifle, or range accessory. Confirm your final zero with the ammunition and distance you plan to use.
Ready to Get Started with AR15Parts.com?
Call (888) 706-0633 for product and fitment questions. We can help you compare optics, mounts, uppers, and complete rifles. You can also contact our team online.