
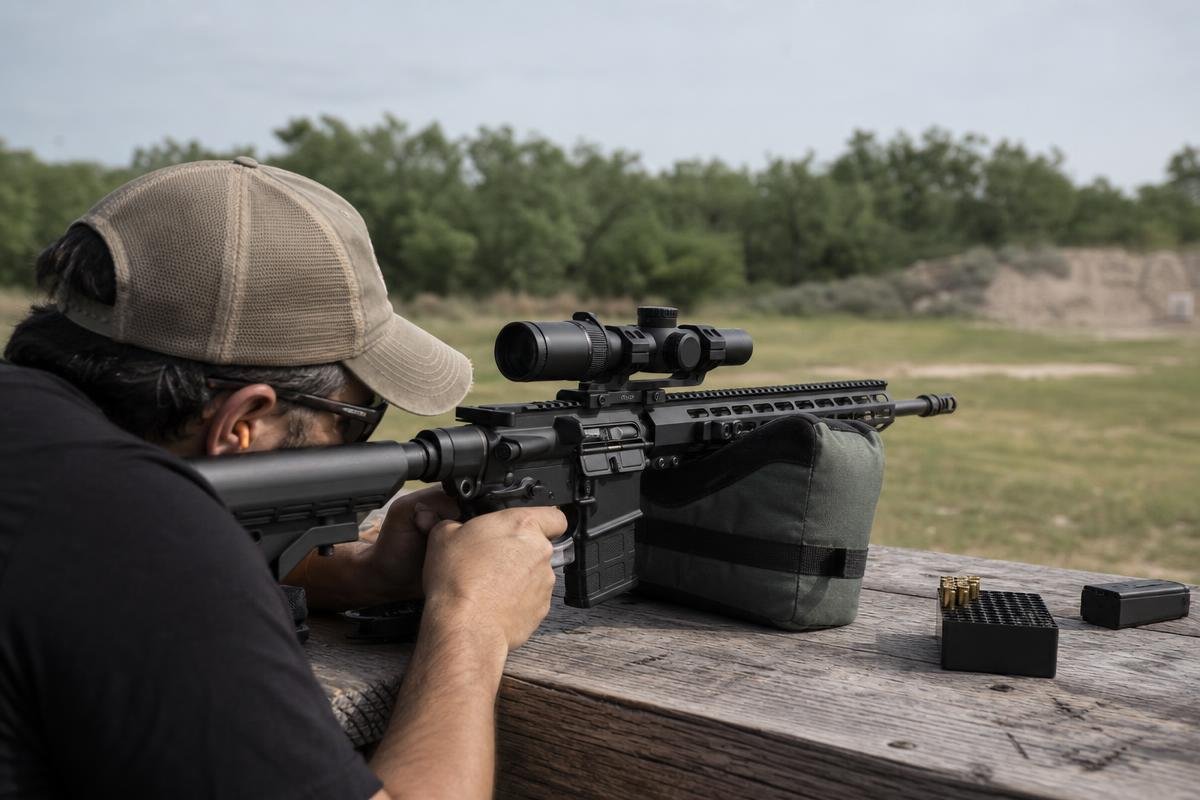
AR15Parts.com supplies the parts and practical guidance you need to zero a rifle scope safely in Denison conditions. North Texas heat can create mirage, while changing outdoor conditions can affect what you see on target. Below, we cover how to zero a rifle scope with a stable rest, safe range preparation, measured shot groups, and correct windage and elevation adjustments. Need help choosing rifle parts for your setup?
Key Takeaways
- Start with a safe shooting area, stable rifle support, and a target at your chosen zero distance.
- Bore-sighting puts initial shots on paper and saves ammunition before final scope adjustments.
- To zero a rifle scope, fire a measured group before making corrections. Do not adjust based on a single shot.
- Read your turret values carefully, then adjust elevation and windage from the group center.
How Denison Wind and Heat Affect Rifle Scope Zero

A true zero is the confirmed point where your reticle’s aiming point matches bullet impact at one measured distance. In Denison and the surrounding Texoma area, summer sun can create a rippling target image through a scope, especially over warm ground or a heated barrel. Wind can also move impacts horizontally, so establish your mechanical zero from groups fired in as steady and repeatable a condition as possible.
Zero with the same ammunition, optic, mount, rifle support, and shooting purpose you plan to use later. A load change, loose mount, or different rest can move your point of impact. Start with range safety preparation, then bore-sight, fire measured shot groups, make turret corrections, and confirm the final group.
If you are setting up a new rifle, our AR-15 complete rifles and complete uppers give you a consistent starting platform. Before traveling to any local range, confirm its current rules for target types, firing positions, distances, and cease-fire procedures.
What a Rifle Scope Zero Actually Tells You
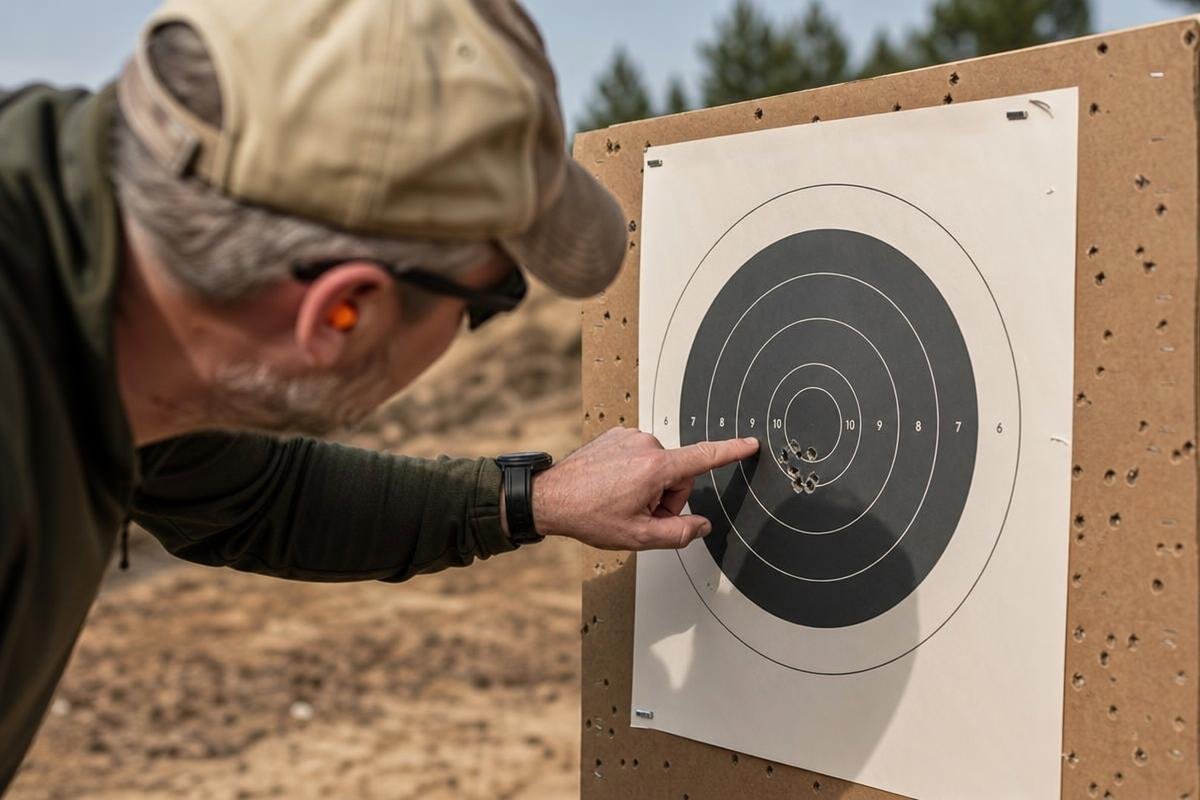
A rifle scope zero is the confirmed relationship between your reticle’s aiming point and the bullet’s point of impact at one selected distance. It does not mean the rifle is automatically zeroed at every distance. Your final group must print where you aim at the exact measured distance you chose.
A Zero Is Tied to One Measured Distance
The 25-, 50-, and 100-yard zeros are different reference points. Each produces a different bullet path beyond the target, even with the same rifle, scope, and ammunition. A 100-yard zero is a common baseline for a scoped rifle, but it does not provide the same holdovers for every cartridge.
Choose the rifle scope zero distance for your intended use, then confirm it at that distance. Use the posted lane distance or measure the target rather than estimating by visual judgment. A 25-yard target is useful for getting on paper, while the final confirmation should happen at the distance your rifle is intended to be zeroed.
Why a Rifle Can Need to Be Zeroed Again
Impact can shift after changing ammunition, removing the optic, changing the mount, replacing an upper, or doing barrel work. Even a quality mount can return slightly differently after removal. A new 5.56 NATO complete upper should be treated as a new zeroing rifle setup.
Confirm your zero after any major configuration change. Use the same ammunition you plan to shoot, fire a consistent group from stable support, and adjust only after you read the group. Before live fire, prepare the range safely and verify the rifle is unloaded while setting targets and equipment.
For optic or build-component compatibility questions, use the AR15Parts.com contact us page before purchasing parts for your setup.
Set Up the Rifle and Target Before Firing the First Group
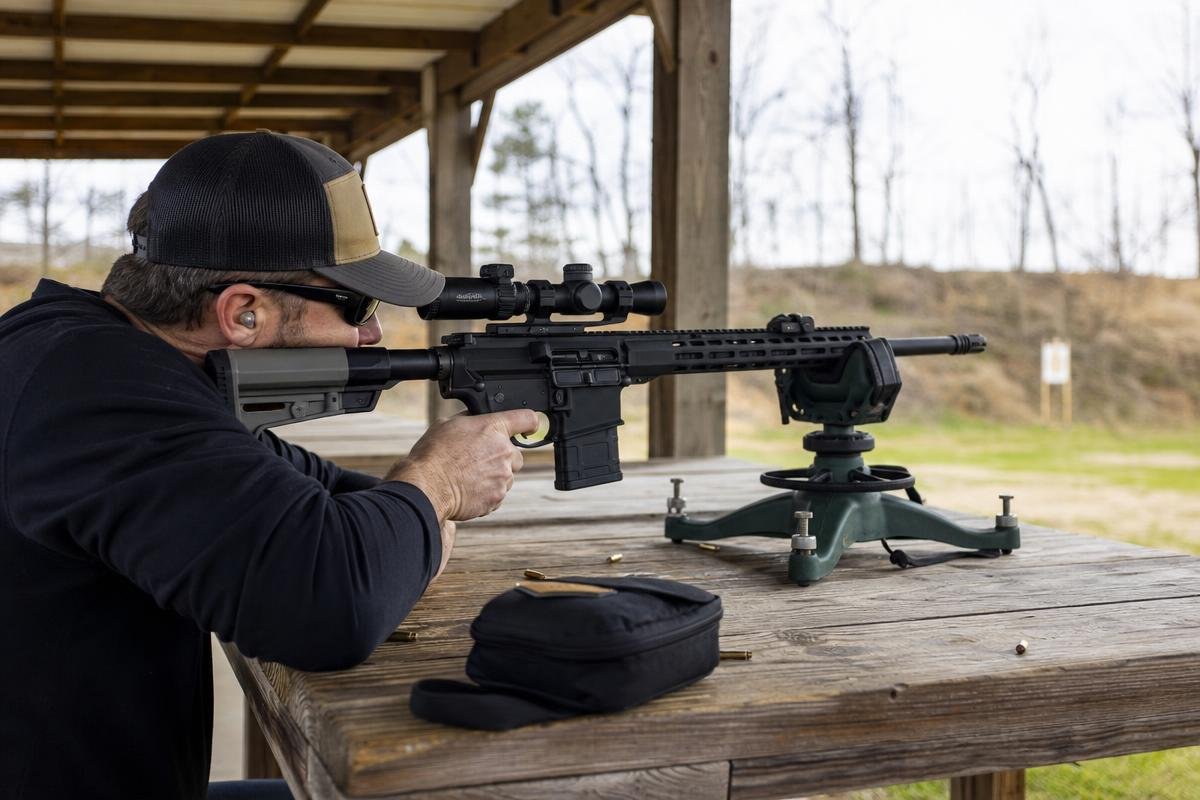
Before live fire, confirm the range rules, target placement rules, firing-line procedures, and safe firearm handling expectations. Bring eye and ear protection, a paper target, a known target distance, stable support, and a notebook or data card. A good setup lets you separate a real equipment issue from inconsistent support or shooter input.
Build a Stable Shooting Position
Use a solid bench, front rest, and rear bag to limit movement between shots. The front rest supports rifle weight while the rear bag lets you make small elevation corrections by squeezing or relaxing the bag. Load the rifle into the support consistently, maintain the same cheek weld, and avoid pulling the rifle sideways against the bag.
Set the target at a measured distance and write it down. A 100-yard target is common for many centerfire rifles, but your intended zero distance should match the rifle and load. If groups begin climbing as the barrel becomes hot, pause long enough for the barrel to return closer to its earlier temperature before deciding that elevation needs adjustment.
Check the Rifle, Optic, and Ammunition
Inspect the rifle before firing. Verify the scope base and rings are secure according to the optic and mount manufacturer’s specifications. Check that the reticle is level enough for your intended use, especially if you plan to dial elevation or hold for wind.
Use one load for the full zeroing session. Do not mix bullet weights, brands, or different lot numbers while learning how to sight in a rifle scope. Record the cartridge, bullet weight, lot if available, distance, and adjustments. If a group repeatedly shifts only after several rounds, note the barrel temperature and firing pace before moving the turrets.
If you are starting with a new build, inspect your complete AR-15 upper and optic setup before heading to the range. Our team can also help with product questions at AR15Parts.com contact us.
Bore-Sight First to Put Your Initial Shots on Paper
Bore-sighting gives you a starting reference before live fire. It can put initial rounds on paper, but it does not zero a rifle scope. Bore-sight before heading to a range when practical, especially if you are mounting a scope on a new rifle or upper.
Inspect a newly configured upper before expecting repeatable groups. Check that the optic mount is tight, the barrel and handguard are secure, and the rifle is properly assembled. Our complete AR-15 uppers are a practical starting point, but every rifle still needs a live-fire confirmation with your ammunition.
Visual Bore-Sighting Through the Barrel
Visual bore-sighting works only on rifles with a clear, straight view through the bore. Unload the firearm completely. Remove the magazine, open the action, and physically inspect the chamber before placing the rifle in a stable rest.
From behind the rifle, look through the bore at a distant target. Without moving the rifle, adjust the reticle until it rests on the same reference point. A target at 25 yards is often enough to get initial shots on paper before beginning the live-fire zeroing process.
Use a safe range setup for every adjustment. Bore-sighting is only a reference, so rely on measured impacts from a group when making final turret corrections.
What a Laser Bore-Sighter Can and Cannot Do
A chamber or muzzle-fitted laser bore-sighter gives you a faster initial reference. Set the rifle on a stable support, project the laser onto the target, and adjust the reticle to the laser point.
Laser fit matters. A loose muzzle unit or poorly aligned chamber unit can show a false reference. It cannot account for bullet flight, ammunition variation, shooter input, or actual point of impact.
Confirm the zero with shot groups at the range. If you need help selecting an optic-ready rifle or upper, review our AR-15 complete rifles or contact the team for product-selection assistance.
How Do You Zero a Rifle Scope at 100 Yards?
To zero a rifle scope at 100 yards, fire a three-shot group from stable support, measure the center of the group from your point of aim, adjust the turrets by the amount shown in your optic’s units, then fire a separate confirmation group. Work from the group center, not one shot, and use the same ammunition throughout the process.
1. Fire a Controlled Three-Shot Group
Fire three deliberate shots from the same stable position. Use bags, a rest, or a supported prone position, and keep the same point of aim for every shot. Do not chase individual impacts around the target.
If the shots form a reasonably consistent group but the center is low-right, you have a usable correction. If one shot is far outside the other two, repeat the group before making a large change unless you can identify a clear cause, such as a called flinch or support movement.
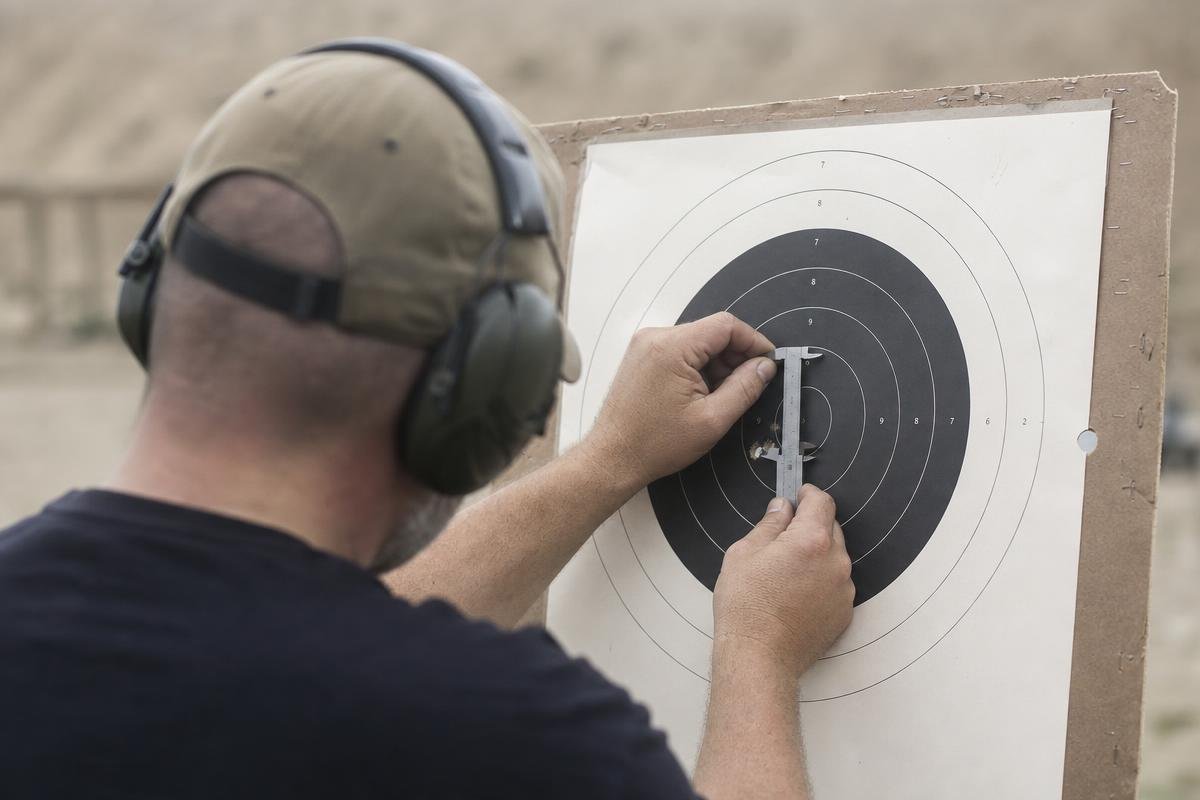
2. Measure the Center of the Group
Find the center of the three impacts and measure its horizontal and vertical distance from your intended point of aim. Record how far the group is high or low, then left or right, at the measured target distance.
This center point is what your scope must correct. A vertical pattern that appears only after rapid firing can indicate barrel heat or changing support pressure. A horizontal pattern that changes direction with visible gusts is more likely a condition issue than a reason to immediately reset windage.
3. Read the Turret Markings Before Making Corrections
Read the turret arrows and adjustment value before making corrections. Follow the markings exactly, since “UP” moves the point of impact up, while the turret may be turned in a direction that looks counterintuitive from behind the rifle.
Verify whether your optic uses MOA or MIL scope adjustments. At 100 yards, 1 MOA is approximately 1.05 inches, and 1 MIL is approximately 3.6 inches. For example, a group centered 2 inches low and 1 inch right at 100 yards needs about 8 clicks up and 4 clicks left on a 1/4-MOA scope. On a 0.1-MIL scope, a group 3.6 inches low requires 10 clicks up.
At 50 yards, the linear value is about half of the 100-yard value. A 1/4-MOA click moves impact about 1/8 inch at 50 yards, while a 0.1-MIL click moves impact about 0.18 inch. At 25 yards, those same clicks move impact about 1/16 inch and 0.09 inch, respectively. Always verify the exact click value in your optic manual.
4. Adjust, Repeat, and Confirm the Final Zero
Make the calculated elevation and windage adjustment, then fire another controlled three-shot group. Repeat only as needed until the group center matches your point of aim at the selected zero distance.
Finish by firing a separate confirmation group after the reticle appears centered. A proper confirmation group verifies that the setting is repeatable, rather than the result of one favorable shot. If you are setting up a new build, our AR-15 complete rifles provide a consistent starting point for this process.
5. Record the Load, Distance, and Final Setting
Write down the ammunition load, bullet weight, measured distance, weather conditions, and final turret setting in a notebook or rifle data card. Include the date and any conditions that affected the group.
A simple data card can read: rifle and upper, optic and mount, ammunition and bullet weight, lot number if known, zero distance, group size, clicks moved up or down, clicks moved left or right, and final confirmation result. That record gives you a baseline when changing loads, optics, mounts, or upper assemblies.
Need help selecting parts for a stable, repeatable rifle setup? Call our Denison team at (888) 706-0633.
Avoid the Zeroing Errors That Waste Ammunition
Do not make a large correction from one unexplained impact. Shooter input, ammunition variation, changing conditions, and a moving support can put a single round away from the true point of impact. Read the center of a consistent three- or five-shot group before turning a turret.
Do Not Chase a Single Shot
An unstable bench, inconsistent cheek weld, or a gust can produce a misleading impact at an outdoor range. Hold the same cheek weld, support the rifle the same way, and use controlled trigger pressure for every shot.
Different bullet weights, cartridge loads, and ammunition manufacturers can change point of impact. Treat each load as a separate zeroing exercise, then fire a final group for confirmation. If your rifle will not group with known ammunition, inspect the rifle before blaming the optic. We carry 5.56 NATO complete uppers for builds that need a consistent, ready-to-install upper assembly.
Match Your Reticle and Turret Units
A MIL reticle with MOA turrets means your hold marks and turret clicks use different units. You must convert before coordinating holdovers with dialed corrections. MIL scope adjustments are simplest when both the reticle and turrets are MIL.
Read the turret markings before firing. Many MOA turrets move impact in quarter-MOA clicks, while many MIL turrets move impact in 0.1 MIL clicks. Make corrections from the group center, not from the farthest hole.
Rule Out Setup Problems Before Blaming the Scope
Loose mounts, a rest that moves, inconsistent cheek weld, and poor trigger control can all resemble an optic failure. Check mount screws, ring contact, receiver fit, and the rifle’s mechanical condition before spending another box of ammunition.
If groups shift vertically as the barrel warms, slow the firing string and compare a cool-barrel group to a later group. If the point of impact moves only after an optic has been removed, verify the mount is returned to the same rail slot and tightened according to its manufacturer instructions. If the problem continues after those checks, our team can help you review AR-15 complete rifles and compatible components for your setup.
How Can You Read Wind and Heat Mirage While Zeroing?
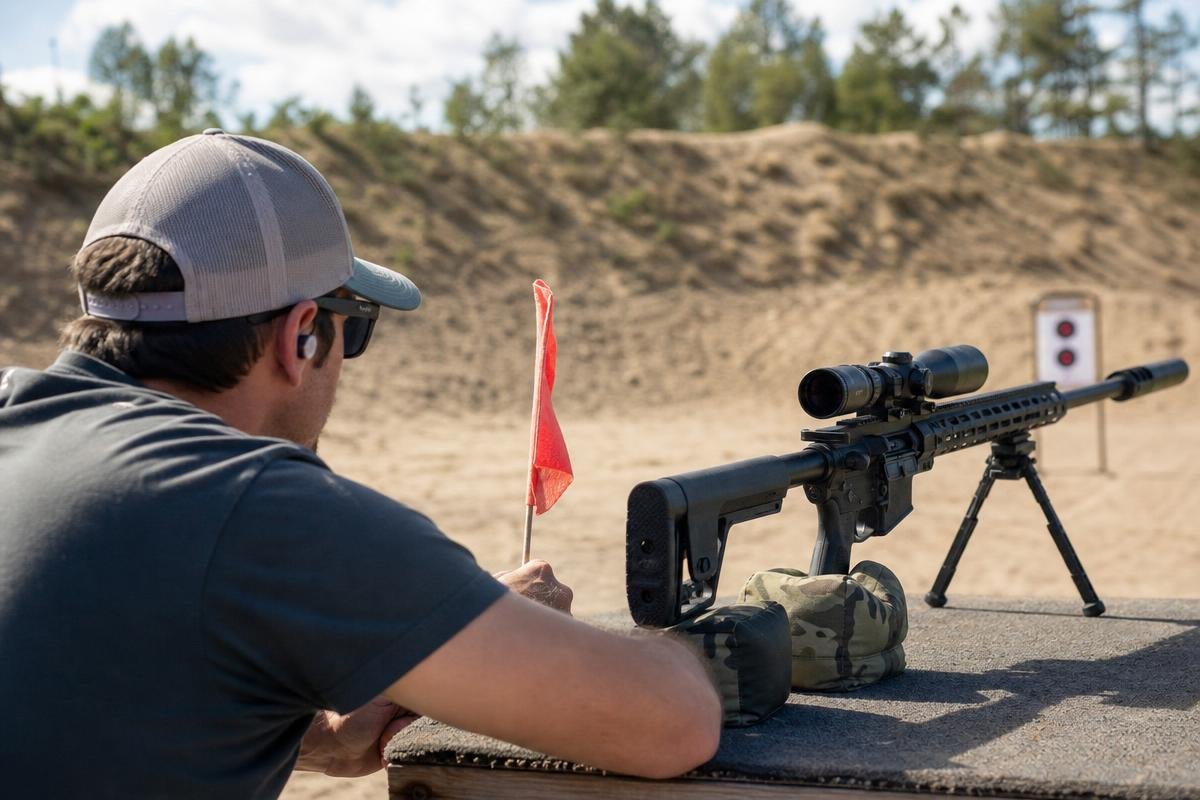
North Texas shooting sessions can bring bright sun, warm ground, and variable air. Mirage bends light between the shooter and target, making the target appear to ripple, blur, or drift through the scope. Wind affects the bullet, while mirage can affect the sight picture, so treat them as separate problems when diagnosing a group.
Watch for Repeatable Wind Conditions
Wind can make a group look like the scope needs adjustment, especially when shots land left or right during different gusts. Watch range flags, grass, brush, or other approved visual indicators near the firing line and target. Fire during a similar condition when you can.
As a practical check, compare the order of impacts. If the first shot is left, the second is near center, and the third is right while the air is visibly changing, do not treat that spread as a mount or turret problem. Wait for steadier conditions and shoot another group. A consistent left or right group across several controlled strings is stronger evidence that a windage correction is needed.
Slow Down When Heat and Mirage Build
When the target image appears to shimmer, first check whether the image settles after a short pause or after reducing magnification. If it does, mirage is likely affecting your view. Shade the optic if range rules and your equipment allow it, avoid laying the rifle where the barrel radiates directly into the objective lens, and use a slower cadence.
A hot barrel can also change point of impact as firing continues. Fire a deliberate three-shot group, allow the barrel to cool if the target image becomes difficult to read, and confirm the final setting with a separate group. If you are setting up one of our 5.56 NATO complete uppers, a cool-barrel confirmation helps create a more repeatable reference for later range sessions.
Frequently Asked Questions
What Is the Best Rifle Scope Zero Distance?
The best rifle scope zero distance matches your cartridge, optic, and intended use. A 100-yard zero is a practical baseline for many rifles, but your target must be set at a measured distance. Check your ammunition trajectory before choosing a final zero.
Can I Zero a Rifle Scope at 25 Yards?
You can use 25 yards to bore sight a rifle scope and get initial shots on paper. It is not a substitute for confirming rifle zero at your intended final distance. A 25-yard impact can translate differently at 100 yards or farther.
Do I Need to Re-Zero for Different Ammunition?
Yes, different bullet weights, velocities, and loads can change point of impact. Confirm your zero any time you change ammunition, especially between practice loads and hunting or defensive loads. Our 5.56 NATO complete uppers give you a solid platform, but the ammunition still determines the final impact.
How Do I Tell if My Scope Uses MOA or MIL?
Read the turret markings and optic manual. MOA turrets commonly show fractions such as 1/4 MOA per click, while MIL scope adjustments often show 0.1 mil per click. Do not mix MOA reticle references with MIL turret corrections.
Should I Re-Zero After Removing My Optic?
Yes, confirm your zero after removing and reinstalling an optic. A quality mount can return close to zero if it is installed in the same rail slot and tightened consistently, but confirmation is still prudent. This matters on complete rifles and upper swaps alike.
Does Wind Affect Rifle Scope Zeroing?
Yes, wind can move a group and make a windage correction look necessary when it is not. Wait for a consistent condition, then adjust from the center of several shots instead of chasing one gust. Heat mirage can also distort your sight picture, so slow down and read the target carefully.
Need parts or accessories for your rifle setup? Contact AR15Parts.com at (888) 706-0633. AR15Parts.com is based at 4000 Texoma Pkwy, Denison, TX 75020.
Ready to Get Started with AR15Parts.com?
Call (888) 706-0633 to speak with our team directly. We're ready to answer your questions, walk you through your options, and help you find the right solution for your needs. Whether you're just starting to plan or ready to move forward, we'll make the process simple and stress-free. Reach out today and let's talk about how we can help.